10+ Steps For Painting Exterior Of Any House
Painting steps for exterior of any house is the same, no matter where in the country. Each step, process or procedure is vitally important as the other, when painting exterior surfaces of your home. Below are detailed descriptions of each painting step you need, ensuring your home will like it as much as you do, anywhere you are located.

Just as an artist has a set of steps painting a revered piece of art on his/her canvas, so does the house painter, on a much larger scale. That being a huge area, painting exterior siding & trim, under all kinds of weather conditions, which is why each step painting your home's exterior is so important.
Considering myself an authority on the subject, a painting contractor having over 40 years painting homes, who knows as the day is long, how important each procedure is for quality, along with professional appearance. So trying to shortcut any step will directly effect the duration, but look & stature.
Every a home should require painting the exterior at some time. Normally with today's technology, research and development, most reputable exterior paints hold up even through extreme conditions for more than 15 years, if proper steps are taken. Paint preparations are done correctly is a must, no matter what time of the year outside painting is accomplished. Providing painting is done in premium weather conditions, and temperatures.
10 Steps Painting Exteriors
- Power washing exterior substrate
- Repair, replace rotten areas
- Scraping loose paint mil
- Caulking open joints
- Filling thickness differences
- Sanding to smooth finish
- Prime bare wood, stains, oils
- Masking, covering glass, concrete, brick
- Choosing exterior color scheme
- Spray field, siding colors
3 Extra Steps!
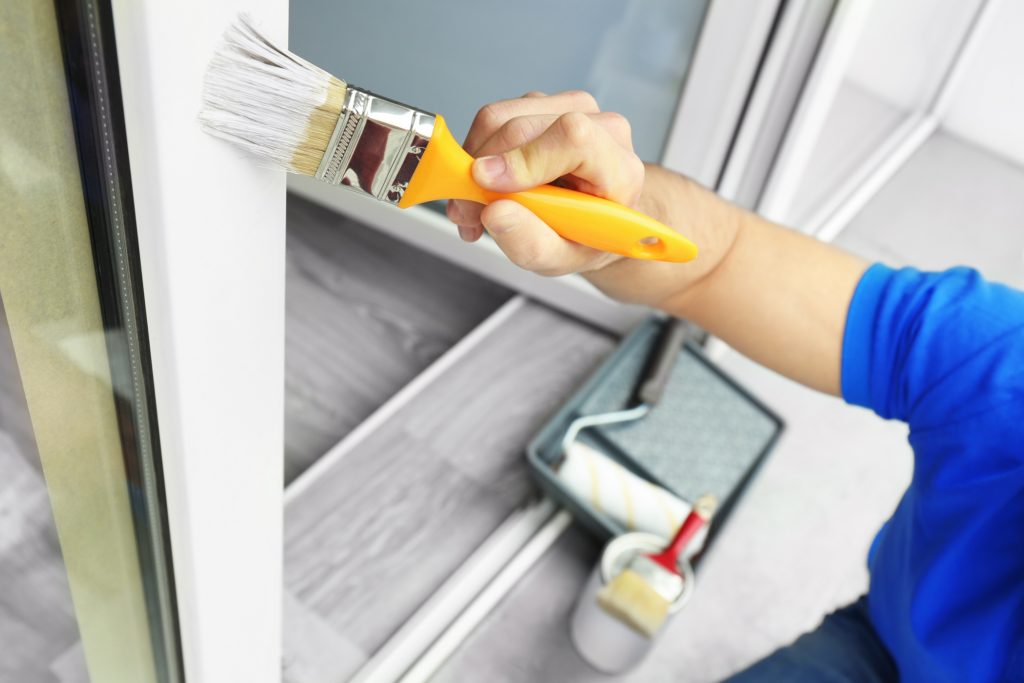
- Brush trim, windows, doors
- Roll gutters, flashing, handrails
- Painting exteriors year around
Power Washing Your Initial & Important Step
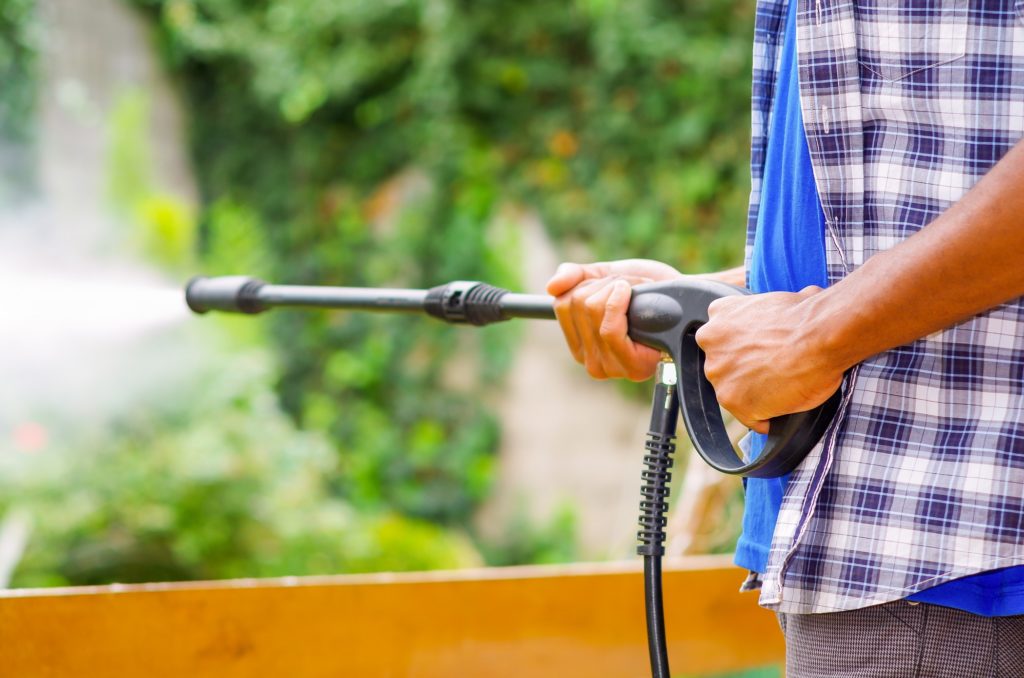
Upon understanding why power washing is so important initially, in that exterior painted surfaces collect dust, debris, not usually seen with the naked eye. Debris can be in the form of spider webs, hornet nests, bird poop, and of course dust. This is why it is imperative to power wash, cleaning substrate, giving fresh new paint a clean surface to attach and bond for a smooth finish coat.
Initially, if pressure washing is not done, fresh new paint will trap dirt and grime underneath, impairing the paint's life and duration. In the painting industry, pressure cleaning is referred to as giving the painter a clean canvas to work with; comparing to Michelangelo.
Pressure cleaning is important as described, but just as important, it is to leave exterior siding 24-48 hours before any scraping, caulking, priming is done. Even though it is 85 degrees with low humidity you ask?
Well, pressure washing normally uses 2500-3000 psi at the tip, not at surface, but forcing water to clean cracks, cervices where the debris typically lies. Never trying to peel paint, as this can ultimately harm the wood underneath. If paint is drastically chipping away, power washing will clean the majority of this away, but care is needed.
If caulking & priming takes place the same day, moisture will be trapped underneath, again harming the life of the products used, which waiting 24-48 hours allows everything to dry back out.
Repair and/or Replace Is Your Next Step
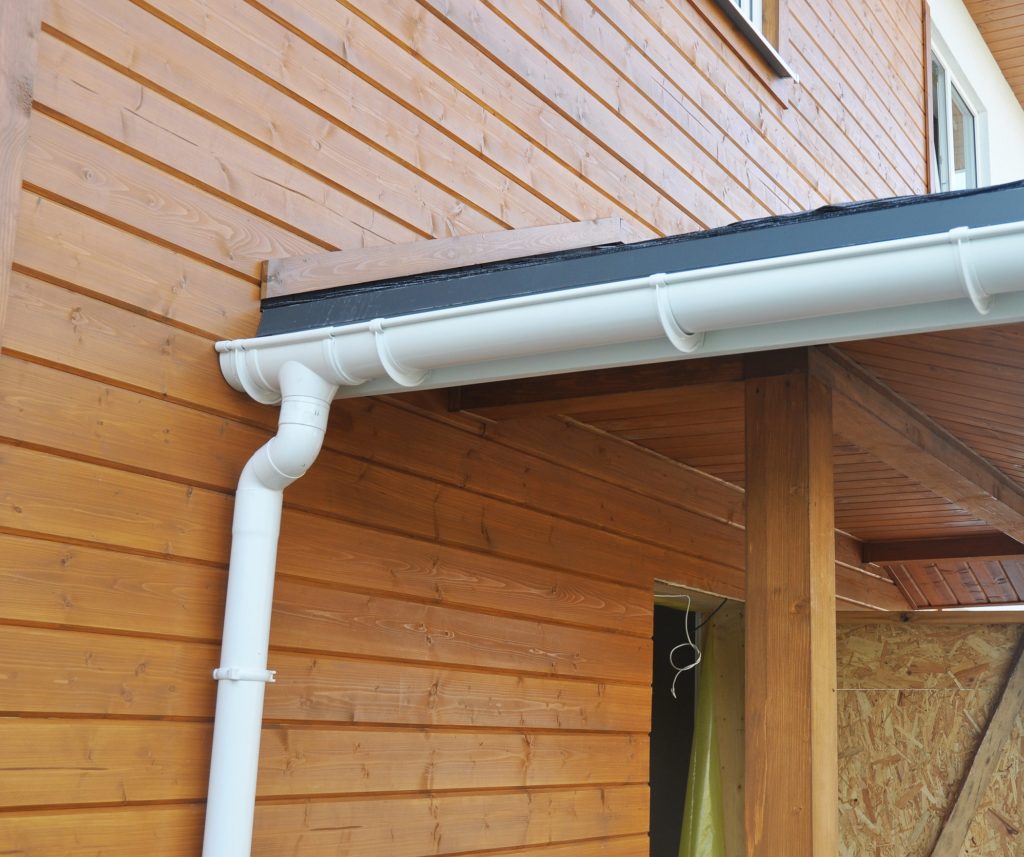
Just as important power washing is to clean, repair and/or replace is important to exterior paint for proper adhesion. Knowing paint is not smart, and will not grab, hold, adhere to any surface deteriorated.
Carefully inspecting every portion of the exterior substrate, making sure it's sound, solid, without any wood rot present.
Ideally, using the same building materials when repairing replacing any surface, giving a uniform visual effect. Installing similar siding or wood trim is suggested, so it doesn't stick out like a sore thumb.
Remember paint is not smart!
Scraping & Caulking Is The Most Recognized Step
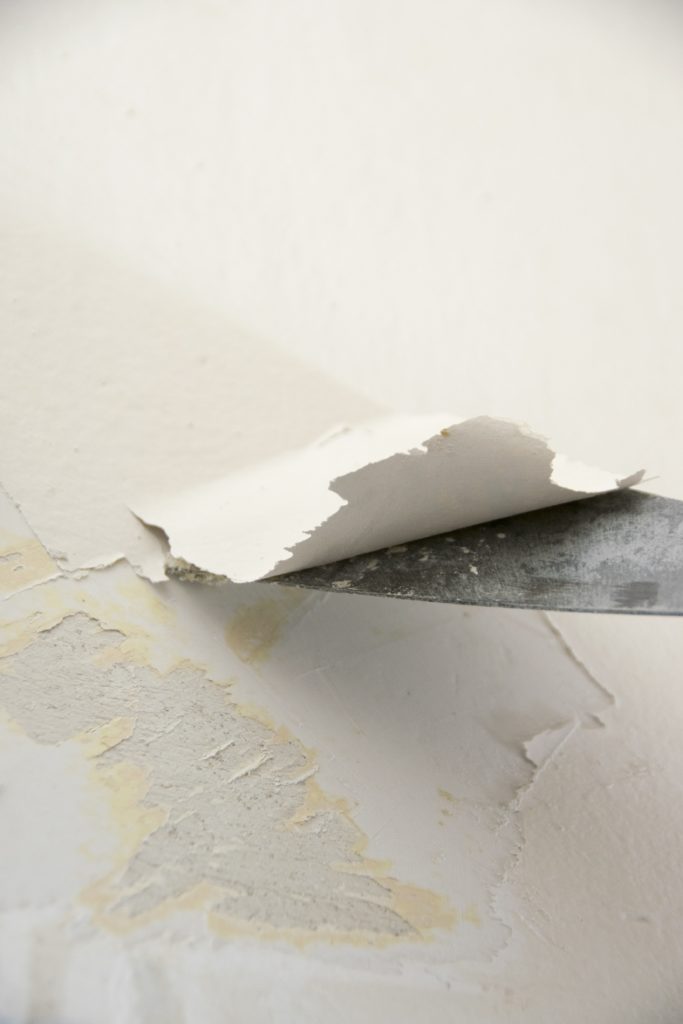
After exterior siding and trim have completely dried out, a scraping of any loose paint must be removed. One misnomer is using power washers to take off peeling paint. Yes, high pressure will remove paint that is currently flaking, but will not get the majority. After surfaces have dried out, a hand scraper must be used checking problem areas of exterior siding and trim.
Most of the time a hollow sound can be heard if tapped on it. This paint must be scraped off, or new paint is surely to fail in record time, no matter what quality you have purchased, having exterior painting done recently.
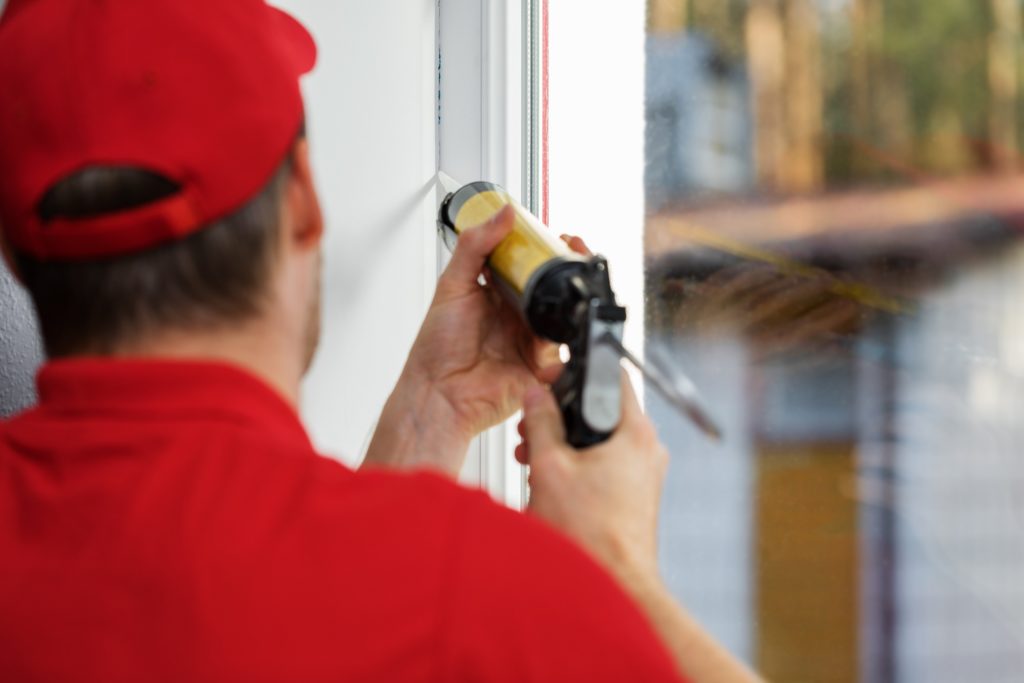
Caulking is vitally important for several reasons, being the most common thought of exterior preparation. Using a painters siliconized caulk, usually in white. A good quality 55 year caulk is Sherwin-Williams 950A. This 950A also comes in colored tinted caulk as well.
Caulking open joints no more than 1/8". If joint is wider than 1/8", a sized backers rod is needed to fill, pushed in crack first, caulking over it. Wiping, smoothing the caulk is important to leave the paint coating level, and uniform.
Steps Filling & Sanding, For Professional Appearance
Every professional exterior paint job will require sanding paint edges where chips were removed, and old paint is remains. This thickness difference is the actual paint mil, normally 10-15 mils or 10/1000th of an inch. If mil thickness differences are not sanded to a smooth feathered transition, get ready to see after effects, as paint only lays as flat as the substrate it is covering. So, if doing this yourself, good idea taking time, because this is the most labor intensive portion of the job.
Areas where only a small area of paint has been removed, scraped way, an exterior Spackle can be troweled on, sanding after it has dried, leaving a perfectly smooth surface to paint later. Crawford's Exterior Spackle is product of choice for this, filling voids and mil thickness differences.
Spot Priming Or Complete Priming Step
Now areas are scrapped, it is time to spot prime bare wood. Rarely do we see complete exteriors needing priming, as siding rarely cracks, peels, and flakes off. However, if siding paint has worn down completely, complete priming is the best defense. Trim paint is the first areas to fail on most exteriors, given primers were never used originally. Bare wood where old paint has been removed, is where primers are important to spot prime, usually brushed on by hand.
After priming has been accomplished, removing old caulking is necessary that is showing separation on one edge if not both. If new caulk is covered up over old, which is showing separation, new long term caulk will not last near the warranty either. Best to use a razor knife, cutting old caulk out. Using a wet or damp cloth wiping new caulk bead, smooths edge, giving a nice transition at 90 degree angles from wood trim to siding.
Masking / Covering Very Important Step
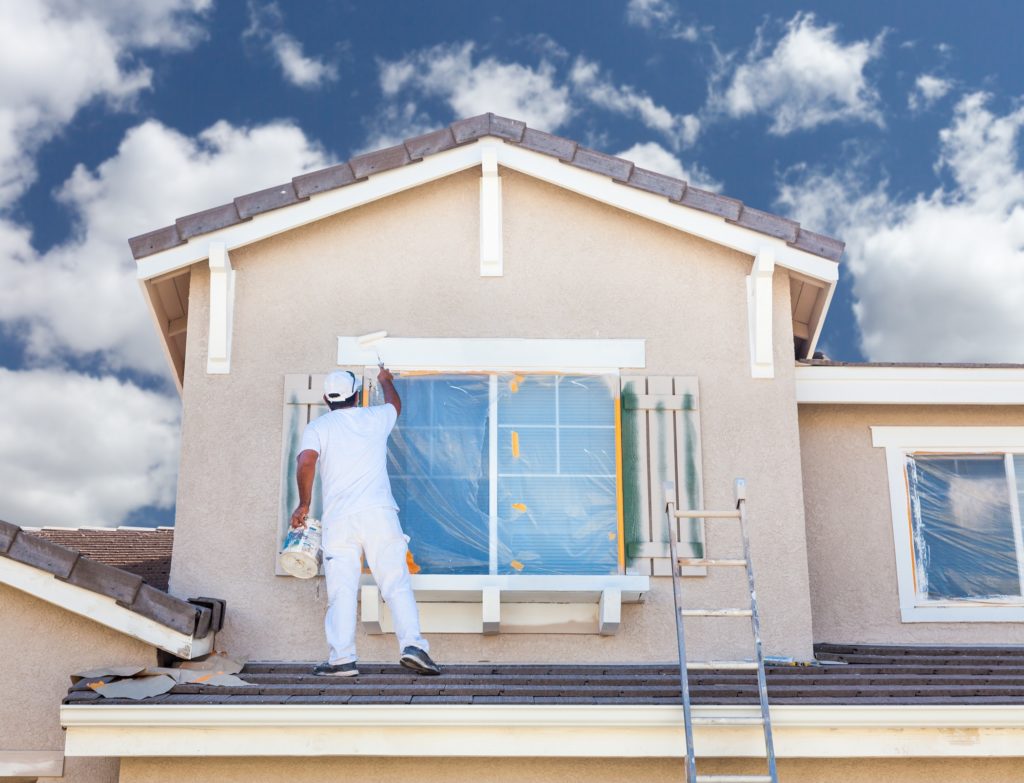
Now power-washing, cleaning, scraping, caulking, priming, is completed, it is time to mask all areas not to receive paint, especially with a spraying method is used for the body of exterior home. Using a 3-M Drop Film normally in a 48" width covers windows completely. Important to Mask it, or Paint it!
Covering exterior perimeter should be masked with 3M™ Drop Film, Brown masking paper, visqueen or disposable plastic sheathing. Good quality reusable canvas drop cloths are also good in certain situations.
Some painters use brown paper around the sides of all windows, folding the corners like a gift package, carefully creased edges. If plastic was not used in the centers of the window, and a gust of wind caught the paint spray a certain way, someone would be cleaning paint over spray off the windows! So best cover windows completely, what ever you want to use.
Mask brick, windows, doors, roof edges, light fixtures, and shingles not to receive paint holding masking material down with painters tape. Masking and covering is an important preparation before painting any home, exterior or interior, so you had better plan on spending several hours if not days to do this. Once more, do not get in a hurry on this task, or you'll be seeing paint where you did not want to see it when finished.
Once areas are masked & covered, it's time for the quickest part of the exterior painting job, actually applying the paint. Normally the preparations are 75% of the exterior painting job, with 25% is actually painting of exterior itself.
Choosing Exterior Colors
When choosing exterior colors, this step should be thought of well before ever thinking about power-washing. If you live in a home owners association (H.O.A), you may need to choose from they're selected color selections. Not living in an H.O.A, you might want to see if other color schemes in your immediate neighborhood is appealing to you and your home.
What ever colors you plan to use on your exterior, and they are different than the one's you currently have, it is a great idea to put a large 3' X 3' swath of paint color on the field portion, and other large sample on the trim. Reason for these larger samples is that our minds find it difficult imagining the entire exterior with new color scheme.
Another reason for larger samples on your home is roof, brick, stone, and vegetation surrounding will directly effect the colors you are considering, having different hues, shades, and tints. Believe me, this is imperative, for an exterior color scheme you'll be very content with for years to come.
Any exterior color change, we include sampling new exterior colors on a home, before ever coming out to power-wash. That way our customers have plenty of time making sure this is what they want, and no surprises. There was an example of this where before making it mandatory of paint samples on a home, homeowner thought we did not use paint color number. Holding paint chip up to painted surface, it was indeed exact, and using darker colors are prominent giving different tints and hues with surrounding colors nearby.
So, do your homework, choosing well in advance your exterior colors. For when paint colors are made up, they are yours, not returnable. When you ask for any certain amount of any paint color made up, by any major paint supplier, you have bought and paid for it even before giving them a credit card.
Painting, Spray, Brush & Roll Steps
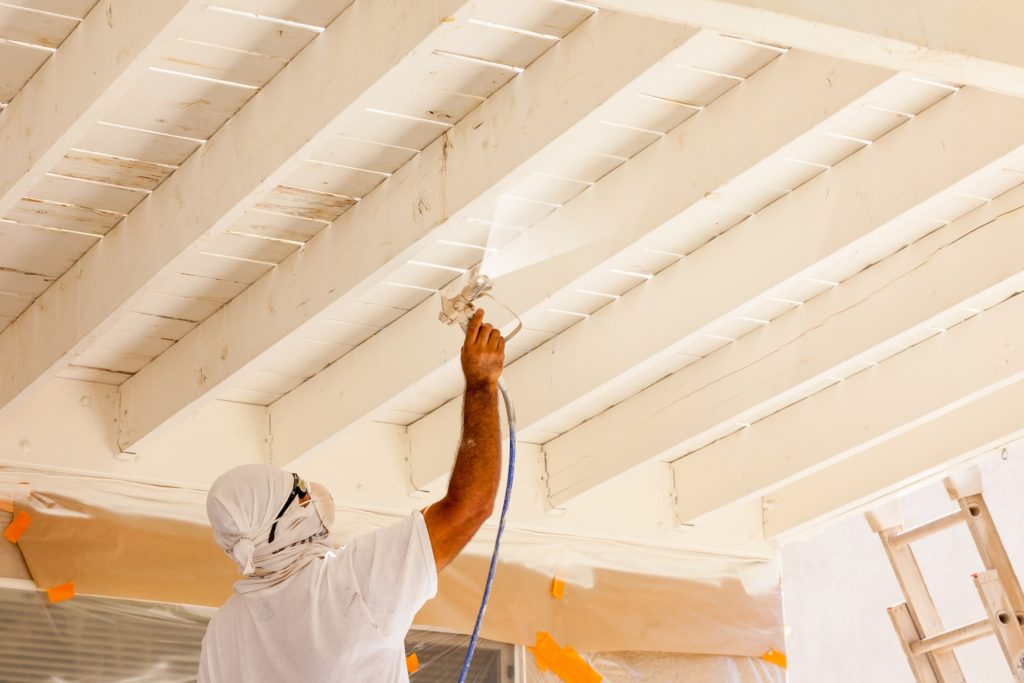
Some say brush is better than spray, and others say spraying is better than brushing. Either one is just as good as the other if applied properly. Spraying is a more frugal way of painting, not spending near as much time painting exterior, where time is money, and money is time, but still applying same amount of paint either way.
Generally most major paint suppliers including Sherwin-Williams®, Benjamin Moore®, Kwal-Howell®, Valspar®, Glidden®, and BEHR® all instruct the painter to apply two coats wet on dry method in same application method.
If brushing and rolling is used, applying two coats can be a very big job, and many shortcuts has been seen, not really applying both complete coats. A fresh new exterior painting job should have at least 10-13 mills thick of dried paint.
Painting two coats wet on dry does not mean one coat one day, and the other coat the next. Once paint has dried to touch a second coat can be applied. The warmer the day, the faster the paint will dry to the touch, which can be top-coated building that 10-13 mills. Also noting that hanging 6-7 mills wet is not a problem with premium exterior paint, premium paints having heavier viscosity. Other less quality paints can sag, run, or drip with far less PVC's in material.
Painting Exteriors Year Around
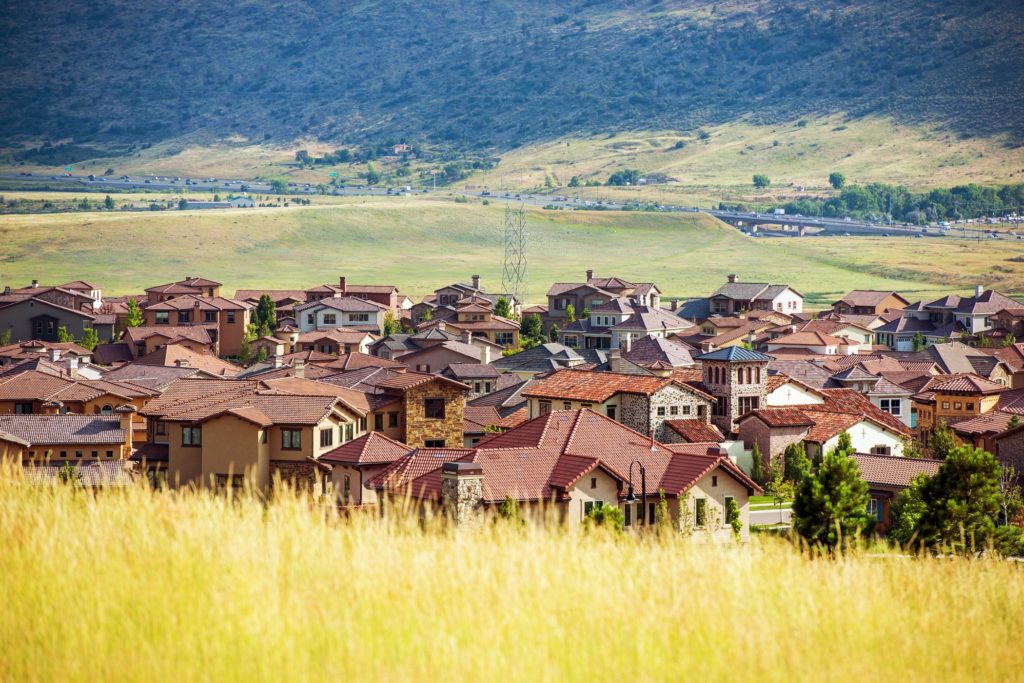
Winter months are much slower for exterior painting in the Denver Colorado area, as it is generally not on the forefront of most minds as in Springtime. However having warm dry days with temperatures reaching in the high 50's low 60's, exterior painting can be accomplished in all 12 months, year around, as weather conditions cooperate, allowing paint to properly dry.
Whether home is just getting listed to sell, giving that superb curb appeal, or just recently purchased, putting that individual signature on your newly purchased home is ideal. Just wanting added protection to the exterior, exterior painting is done year around besides say in Alaska or Maine.
Days are shorter, so several steps are taken to ensure there is no paint failure during these cooler months. First, we use low temp. exterior paints that dry at lower temperatures, down to 35 degrees.
Also in the winter months we start painting on the East side, following the sun, making sure exterior paint dries properly before the sun goes down. Knowing the substrate is typically 10 degrees cooler than the ambient temperature outside. On the same note, we stop painting around 2:30 pm each day, so that the paint can cure before temps. start dropping in the later evening.
Working with shorter days and cooler temperatures means for taking a bit longer for exterior painting, but we still warranty our work just the same, taking additional steps.
Considering All Painting Steps Needed
No matter where you are in the country, hope you find these exterior painting steps helpful when considering painting the outside of your home, as there is a lot more to know painting an exterior home, like knowing what to paint first, exterior walls or trim. I know I'd be doing as much research as I possibly can on a subject I knew nothing about, especially planning on tackling a painting job myself, not to mentions initial costs before getting started.
However, knowing what best steps to take is one thing, actually doing them is another. A basic understanding of best practices, techniques, and preparations needed painting your next exterior is all inclusive, always learning, as each job has it's similarities, as well as differences. Being able to overcome each particular one, more knowledge is gained with a very seasoned professional painter.
Exterior Painting Alternative
Too monumental? Some may not wish to pick up a paintbrush, not having time nor energy. Our lives are extremely busy with work, family, and taking quality time off from your hectic schedules. Painting the exterior may seem a walk-in-the-park, but knowing all the proper steps needed is quite the process.
Others may know proper steps, but wish not spending thousands of dollars, just for the best painting tools needed for one exterior paint job.
Giving you an alternative, having this done by professionals. Allowing you more free time, spending it more wisely with family & friends. Who wants to paint an exterior all summer long? Our painters in Denver can do this in days, not weeks or months. If you are one of these in the Denver, Colorado area, needing qualified painters, contact Eco Paint today!
Any comments welcomed below!


[…] as important cleaning windows is, also repair and/or replace is important to most window functions. Carefully inspect every area of window tracks, slides, also […]