Can Wood Shingles Be Painted, New or Old?
Wondering if Cedar new or old wood shingles can be painted instead of stain? With a resounding NO, having first hand knowledge, several years ago, setting the record straight.
Do not paint Cedar wood shingles unless you want to see peeling, blistering, bubbling paint in a very short time!
Thinking an oil based paint stain would do the trick, but I was in for a surprise.
Typically for all wood surfaces, power washing first is first on the agenda when painting exterior surfaces. Power washing Cedar shingles, rinsing off the outer most layer of older wood, generally leaves a fresh, new blonde wood underneath, bringing out a brand new appearance. Allowing it to dry properly, generally 48-72 hours is sufficient before any sealants applied.
However, understanding what Cedar wood shingles are suppose to do, along with paint criteria, you can thank me sharing this story, being careful what you read on the internet.
Not everything published on the net is accurate, having first hand experience.
Googling "Can Wood Shingles Be Painted"
Googling ''Can Wood Shingles Be Painted'', you will see hunker in the number one position, but is completely false, and I will go into the reasons below. But first, I do hope you get to read this actual experience beforehand, if considering painting Cedar wood shingles, saving you much time, money, & headache down the road.
1. How To Paint Wood Shingles

7. home clinic; the wood shingle debate: whether to paint or stain
Jul 21, 1985 - Latex paints are more permeable - that is, they will allow moisture to escape from the wood or from behind the paint film without causing the paint to blister. Make certain the will dry to a flat or dull finish, and that it is for use on wood shingles.
9. Wood shingles can be revitalized / A good cleaning and preservative better than paint
Q: The brown shingles on our house, built in the late 1950s, are showing signs of wear. While not worn or damaged, the shingles look tired -- waterlogged or parched, depending on the season.
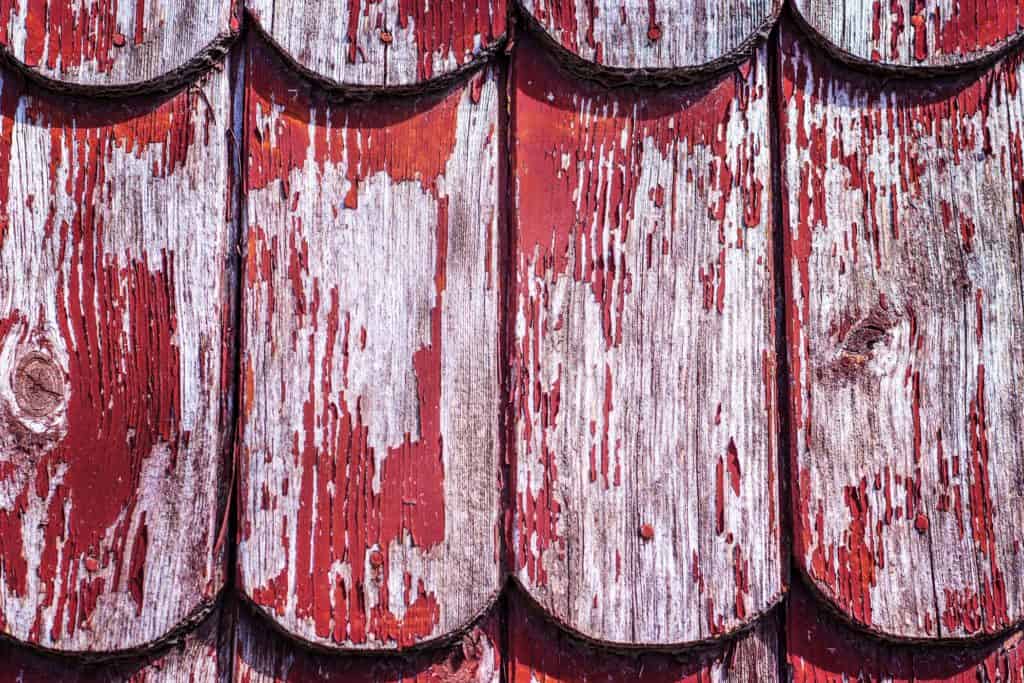
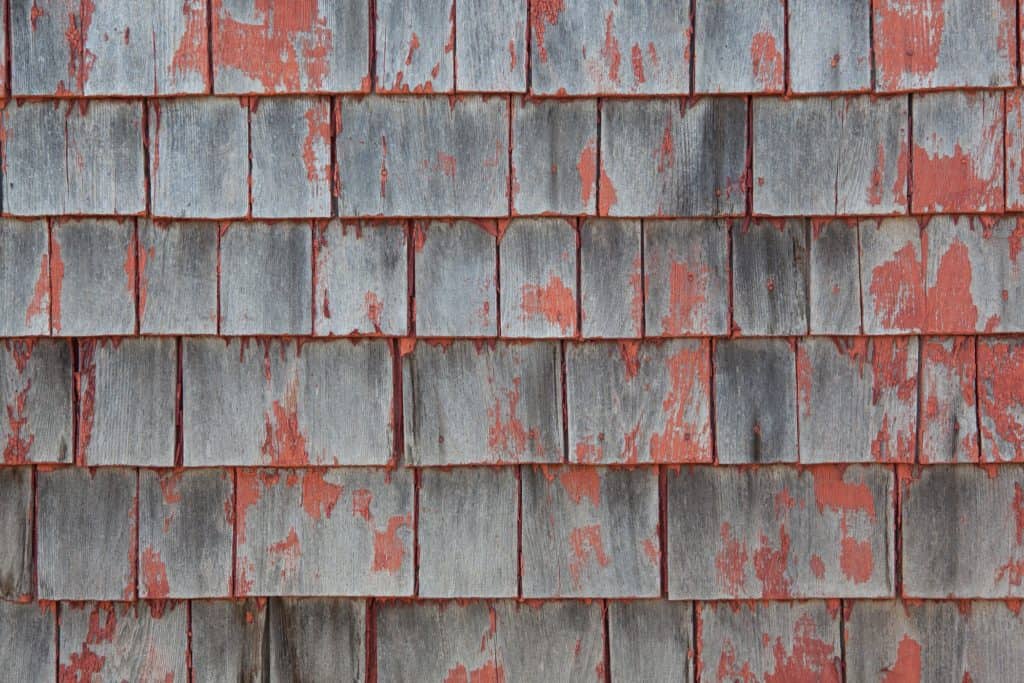
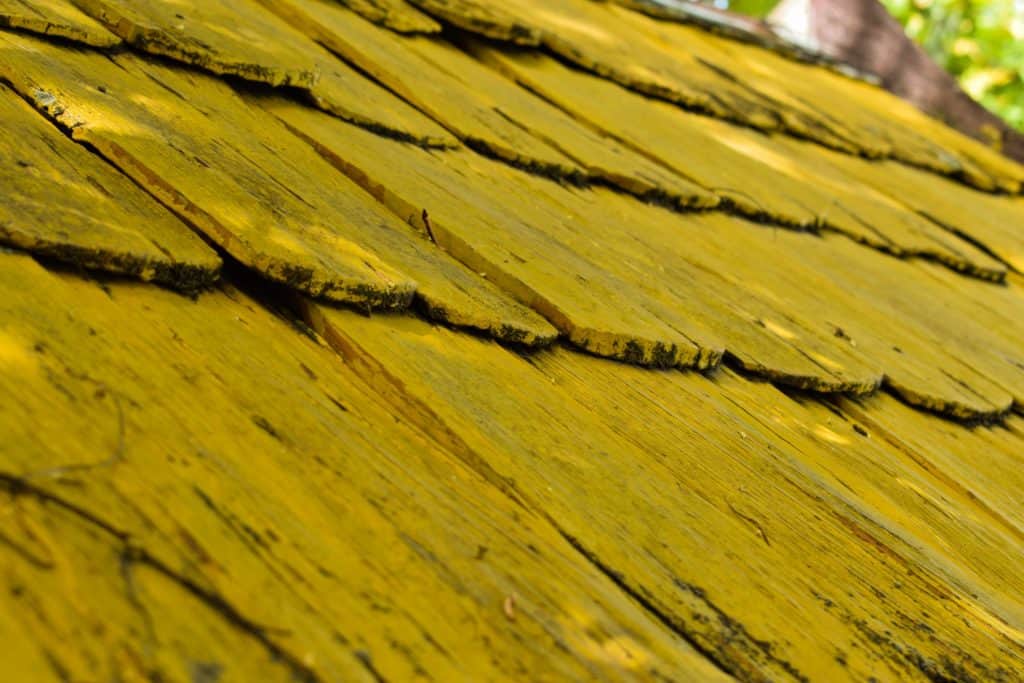
There are few things more ugly than a failed, peeling paint job on a shingled house.
It sounds as if your sidewall shingles are starved for moisture. We'd bet they haven't been touched for many years. Wood is ravaged by sun, rain and wind. For defense against the elements, wood must maintain a certain range of moisture content. Too much moisture and it's the waterlogged look. Too little moisture and it looks like a tinderbox ready to go up in flames.
Be warned, though, your siding may be reaching the end of its useful life -- but maybe not. If your shingles truly do not look worn or damaged, they might be only dry and dirty -- and salvageable.
With the price of new shingles these days and your aversion to paint, which we share, we think it's worth the effort to try to salvage what you have. This is how we'd go about the job:
The first step is to give the shingles a good cleaning with a pressure washer. Be careful here. Pressure washers produce a stream of water under high pressure that blasts away the dirt and grime from the siding. But -- and this is a big but -- if the shingles are dry and brittle, you run the risk of blowing the shingles right off the wall.
To avoid this, use a wide spray pattern and keep the nozzle of the gun at least a foot away from the wall. Start at an out-of-the way spot until you get the hang of it. If you make a mistake, it's away from the public eye. Try to remove dirt and leave the patina of the shingles. Go gently. The goal is to remove the dirt and limit the amount of wood you remove.
Once the washing is done, let the shingles dry for at least a week. The water absorbed by the washing must evaporate and the shingles must be allowed to return to their natural moisture content for the climate at the time you're doing the job.
Once the shingles are dry, give the house a good once-over. Look for damaged shingles. Replace those that are severely cracked. The new shingles will look, well, new. But fear not, they'll weather in time.
With the house washed and dried and the repairs complete, it's time to put on a finish. We'd go for a clear wood preservative rather than a stain of any kind. But this is really an aesthetic choice. If you prefer a semitransparent stain, go for it.
There are a lot of wood preservatives on the market. Two of our favorites are Duckback (www.superdeck.com) and Preservawood (www.preservawood.com). Both companies also make wood cleaners and brighteners that Bill has used with success. This will add an extra step to the process, but it's worth checking out.
Reasons Not To Paint Cedar Shingles
- Cedar shingles new or old do not hold solid paint, even if you prime first
- No way to seal all cracks and crevices, which allows moisture getting behind paint, lifting it up
- Cedar shingles are meant to sluff off old wood, allowing new wood repelling elements
- Cedar shingles will accept transparent, or semi-transparent stains
- Cedar boards allow paint, whereas shingles do not accept paint properly
- Knowing how to prep Cedar shingles for painting, is to clean for stain, not paint
My Experience Painting Cedar Wood Shingles
At the time, having been a paint contractor for approximately 30+ years, having a vast amount of painting experience. But even that amount was not enough to know what was ahead of me, six - nine months later after we had completed this project.
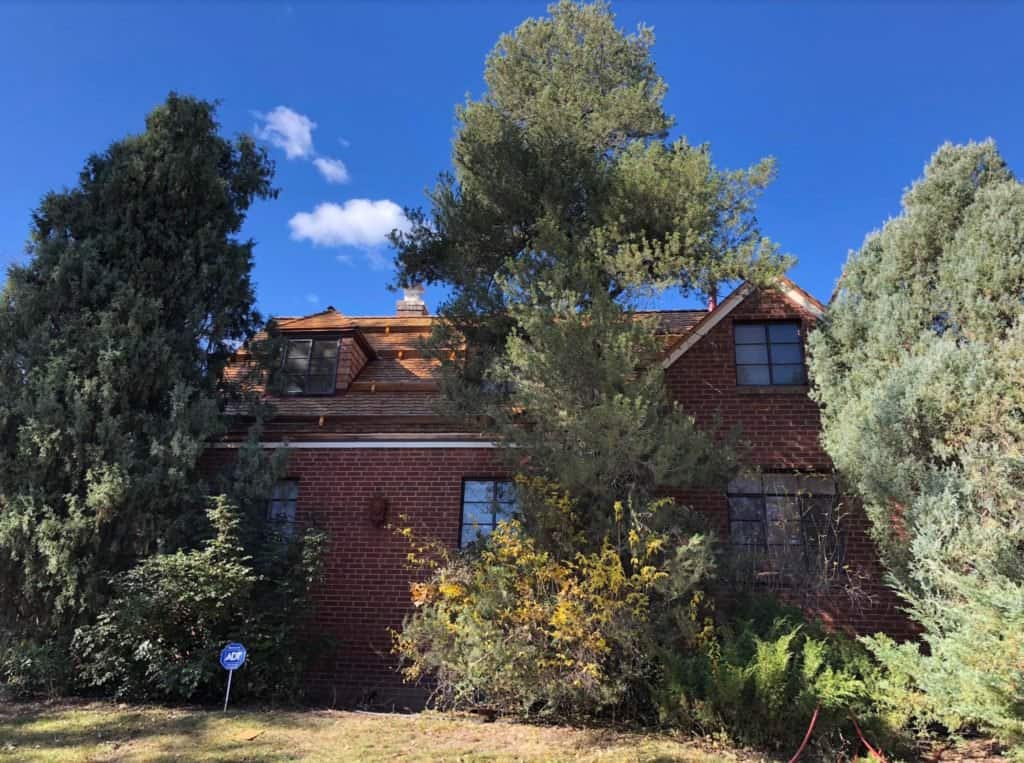
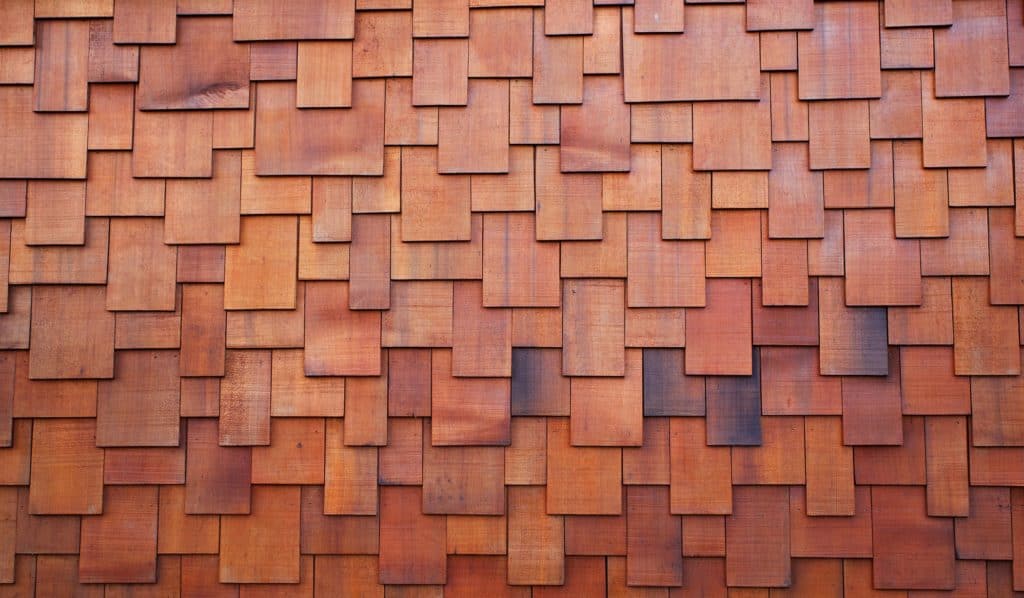
Marking it up as experience, everything seemed to go as planned kicking this project off. Power washing was a monumental task, taking nearly 3 work days, using Oxy-Clean mixture, removing the black and gray discoloration. This Cedar wood shingle was used on a vertical siding, as well as roof. Washing brought out shingles as if they were new, removing old decayed wood from the top.
However, it cause a significant amount of wood washed off as well. This was seen where water had pooled up on the ground. The next day we had to go around, cleaning up wood debris this power washing had caused. It looked as if the area was contaminated with a light brown fungus.
This should have been a sign, but continued anyway.
Just to note, we used two different paint stains on this residence, one for the shingled siding, and another stain for the shingled roof. Painting the siding first, using a solid oil based paint stain, similar to Woodscapes™, but in a Glidden™ formulation.
This had a painted appearance, with a greater adhesion with an Alkaid oil product, which was suggested by everyone. Not sure if paint supplier knew we were painting Cedar shingles, but wished I had known this before starting.
Spraying oil based paint stains are much harder to work with, needing respirators, rubber gloves, and spray suits to keep painters protected. However, after working tediously approximately four days, painting the home's siding, as well as the matching garage siding, everything looked fantastic.
You have to understand something. Paint stains are meant to soak into the wood surface approx. 50%, leaving a paint mil on top of 50%, which is normally 4-6 mils dry, unlike an exterior 100% acrylic latex, where the dry mil would be 10-14 mils dry.
Therefore, applying a solid paint primer beforehand defeats the purpose of using a solid stain. Using a typical 100% acrylic latex paint is not the answer either, as shingles have way too many cracks and crevices to properly seal, which would allow moisture behind the coating to lift back up.
Use Semi-transparent Stain For Roof
Using an oil based semi-transparent stain for the roof, we protected that as directed as well. Believe we used Superdeck™ semi-transparent linseed oil base stain, looking wonderful, never having an issue.
Walked around, making minor touch-ups with the homeowner, finalizing the job. Home up the hill from Boulder CO. in the Sugar Loaf area, which was now protected for the upcoming Winter season.
Call Back
Having finished this by July, giving ample time to dry properly before freezing temperatures on it's way by November, I received a call in mid October.
Understanding Winter was near, and homeowner had some concern, this was on top of my priority, taking a look. Homeowner warned me issues he had was paint bubbles or blisters popping up everywhere on the siding, and before it really started getting that cold.
Roof still looked wonderful, having the semi-transparent oil stain, no way could this fail.
Not having ever experienced blistering or bubbling before, believing it was out of my scope of painting expertise, I called my Glidden sales representative to meet me there. Not only did my sales rep come, but his boss did as well.
Upon arriving at the home, from a distance, everything looked great. However walking up closer to the residence, we did not have to look very hard finding paint blisters or large bubbles, high and low, everywhere on the siding.
Glidden Solid Paint Stain
Quickly offering Glidden™ representatives we had not thinned this product by any means, applying on a very dry surface, I thought there was a defect in the product, as a bad batch could've been made at the factory. Still believing this oil based solid stain was much better to use than a typical exterior paint.
The senior Glidden™ representative cut out several blisters, placing in an envelope to send to his lab for research. Was not long after lab tested these paint stain chips, it was determined that the paint stain product did exactly what it was suppose to!
Paint Is Only As Smart As The Substrate
Adhering to the substrate, which it was, having a thin layer of wood attached underneath the chip itself! No way was the product at fault, nor was the applicator or painters. The fault laid with the substrate itself. Paint is only as smart as the substrate, which is being applied.
Upon learning more about Cedar shingles after the fact, they are meant to sluff off old wood, leaving the new wood protecting the all important underlayment, this being walls.
Lesson Learned
Having experienced an unfortunate hard lesson learned, I feel more than eager to share this, that no one else finds themselves in such a predicament. Henceforth, we refuse to paint or stain Cedar shingles with any paint mil whatsoever.
New Cedar Shingles
It was just last week a roofing contractor requested a price for us to paint/stain a Cedar shingled roof they had just finished. Their client requesting a TWP™ solid stain, telling him this same story. Only using something that cannot crack, chip, bubble, blister, or peel is what Cedar shingles are meant to have.
Which prompted me writing about this article today. Wanting to clarify the misnomer of possibly painting Cedar shingles, new or old.
Disagree Cedar Shingles Can Be Painted
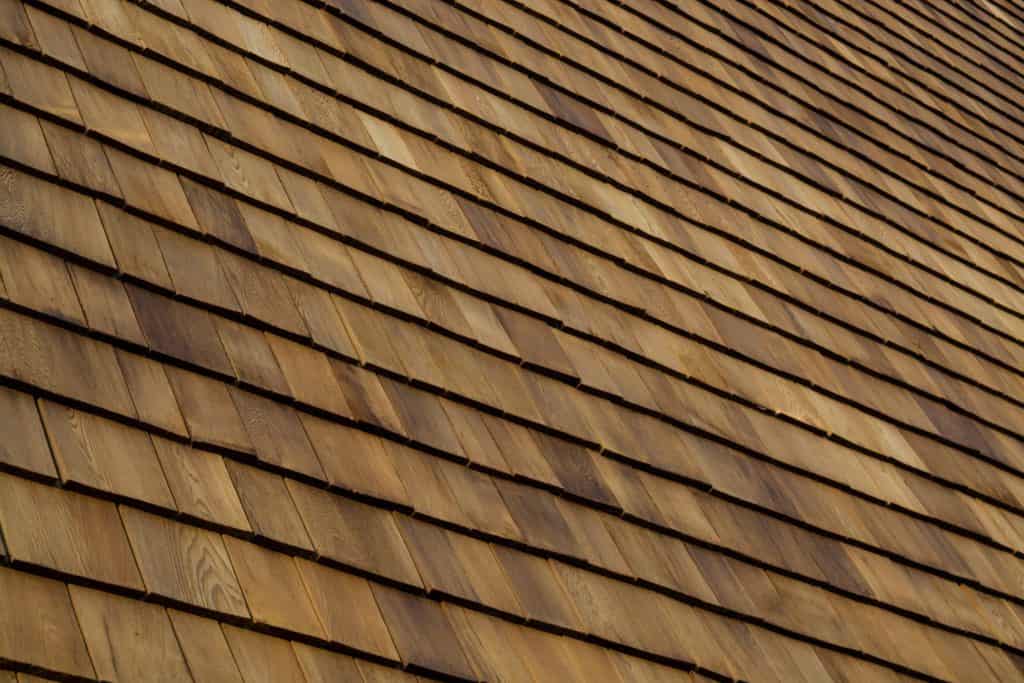
Cedar shingles will accept transparent, or semi-transparent stains uniformly, soaking in beautifully, protecting from weathers elements several years.
Recapping If New Or Old Wood Shingles Can Be Painted
Looking over this entire question, knowing a few important points how paints and stains work, leaving a paint mil on top of shingles is the worst thing you could do for siding or especially a roof.
Yes, painting shingles may enhance the wood in the beginning, but if you do, you're in for a long constant battle keeping them that way, which at some point you say screw it, replacing them, staining them next time.
Not being able to seal every nook and cranny, and moisture is paint's worst enemy, keeping paint mil intact.
Knowing Cedar shingles are made to sluff off old wood, just like our skin does, paint will come up also. Cedar has natural oils within the wood, making a superior wood weathering naturally, once dried.
Priming shingles first, in no way are you able to properly apply a paint stain over this. Priming to apply a solid 100% acrylic paint comes back to not able to seal every nook and cranny, even spraying and back-rolling multiple coats.
Another reason not to paint Cedar shingles is that shingles are cut across the grain, being wedge shaped, and this alone is a perfect setup for paint failure. The least little opening will allow moisture behind paint coating, lifting it up.
Sanding shingles would be a monumental task, not many would have the patients, nor the energy ever completing. Sanding would not guarantee paint adhering to reasons listed above.
Therefore, asking the question, ''Can Shingles Be Painted'' setting the record straight, following the resounding NO answer is your best advise, Never painting Cedar shingles old or new.
Your ideal solution needing any sealer on them would be an oil transparent, or semi-transparent stain, as they both will never peel, blister, bubble, or chip away.
Other helpful links;
Tips Before Painting or Staining Cedar
Hope you've found this helpful, saving your Cedar siding or roof looking it's best. Your ideas and comments welcomed below!



[…] protection for your Cedar shingles. The question comes to mind, whether to paint or stain shingles. Having written another article on this subject, learning a valuable lesson several years ago, it doe…Giving you a clue, the answer is flat out […]
[…] underlayment can immediately cause blistering, bubbles if not properly addressed. Matter of fact, some are intended not to hold paint, such as cedar shingles. Reason for this is cedar shingles are not intended having a solid paint mil coating on it, as […]