DIY Steps Painting Exterior Wood Siding & Tips
Getting ready painting exterior wood siding, a few important DIY steps and tips to follow will greatly increase the protection, resiliency, and weatherization. Congratulations taking on painting exterior wood siding yourself, as this is a monumental task, normally left to professionals.
Being this job is such a large complicated one, I'm sure you would not want to find yourself painting the exterior wood siding in only a few years from now. Making sure key wood preparations are followed, ensuring paint coatings properly bond or adheres to the wood substrate you are about to cover.
Steps Painting Wood Siding
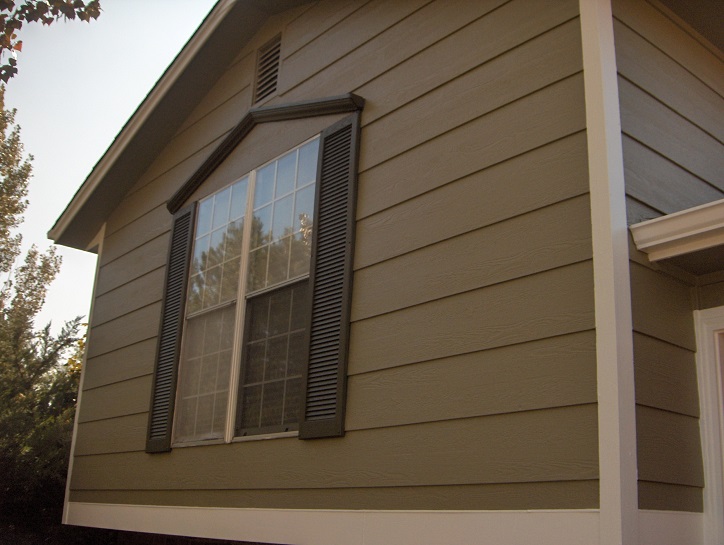
Steps or preparations for wood siding painting are similar to those when painting a Masonite™, James Hardie™, or Vinyl exterior sheathing, as dry time may be the only exception. With any exterior, before picking up a paint brush, any exterior surface is best severed, power washing first.
Power Wash Is First Step Painting an Exterior
Washing off the exterior siding and trim of dirt, loose paint already coming off, cobwebs, and debris is on the first order of business. Power wash is not intended to peel paint that is not already coming off, as this will harm the wood substrate underneath. Best to keep your distance, rinsing off from top down, as you would a car at a local car wash.
Be careful rinsing Cedar and Redwood, as they are fairly soft woods, and if needed to clean much better, getting black and gray out of it, best using best wood cleaner I have ever found as of today. This cleaner is Oxi-Clean™ laundry detergent, mixed in a 5 gallon bucket, swabbing on the exterior, sitting back, watching the black and gray ooze to the top, before ever starting the power washer.
Letting Cedar to dry back out after power washing at least 24 to 48 hours. If Cedar is rough sawn texture, you do not need to sand, nor prime. Just use a solid latex paint stain. This will hold up nicely for many years.
For all other wood types, keep reading;
Scrape Loose Paint Is Your Second Step
I know what you are thinking. You're wanting to get that caulking gun in your hot little hands, but hold off. You're next step after the exterior has dried, (normally 24-48 hours), is scraping any loose paint. Using a 5 or 7 Way tool is your best suggestion. Similar to a dental hygienist using a tool checking for plaque, but again, on a much larger scale.
Even if the paint is not currently lifting up, does not mean it is adhering to the substrate underneath. Tapping paint with this tool will sound hollow, knowing there is air between the paint and siding, which must be removed first. This is the time to score the paint, scraping it away before you do anything else.
These loose paint chips will eventually come off, lifting up under new paint, so it is imperative you remove it first. If your entire exterior has air pockets under the paint, better plan on spending all summer long, barely scraping by.
Sand, Fill Mil Thickness Differences Is a Professional Step
Every professional exterior paint job will require sanding paint edges where chips were removed, and old paint is remains. This thickness difference is the actual paint mil, normally 10-15 mils or 10/1000th of an inch. If mil thickness differences are not sanded to a smooth feathered transition, get ready to see after effects, as paint only lays as flat as the substrate it is covering. So, if doing this yourself, good idea having plenty of drinking water on hand. Know you will work up a thirst.
Areas where only a small area of paint has been removed, scraped way, an exterior Spackle can be troweled on, sanding after it has dried, leaving a perfectly smooth surface to paint later. Crawford's Exterior Spackle is product of choice for this, filling voids and unevenness.
Caulking Most Well Known Preparation Step
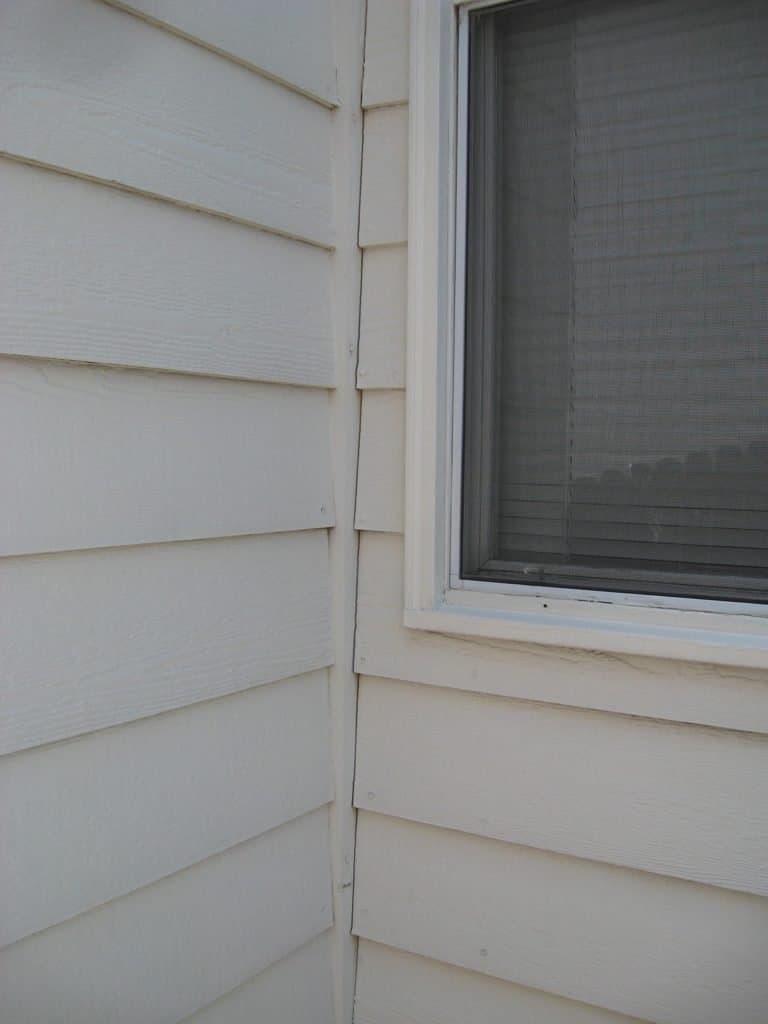
Most common step in painting an exterior is caulking. Caulking fills cracks normally where two pieces of wood come together at a 90 degree angle. Caulking seals moisture and air from penetrating underneath the painted surfaces.
All caulking must be done before painting the exterior, which is an important step in your preparation. Exterior caulk is widely dispensed with a drip-less caulking gun, in a bead or line best for the size of crack covering. Best to use your finger, or rag smearing it smooth, letting it properly dry before moving to the next step, painting your exterior.
An average home requires at least two cases (24 tubes) of painters caulk, sealing all areas needed. Make sure the caulk you are using is paint-able, painters caulk, knowing some caulk is not paint-able. We generally use Sherwin-Williams 950A Siliconized Acrylic Latex Caulk 55 yr. on most applications.
Masking & Covering Before Painting
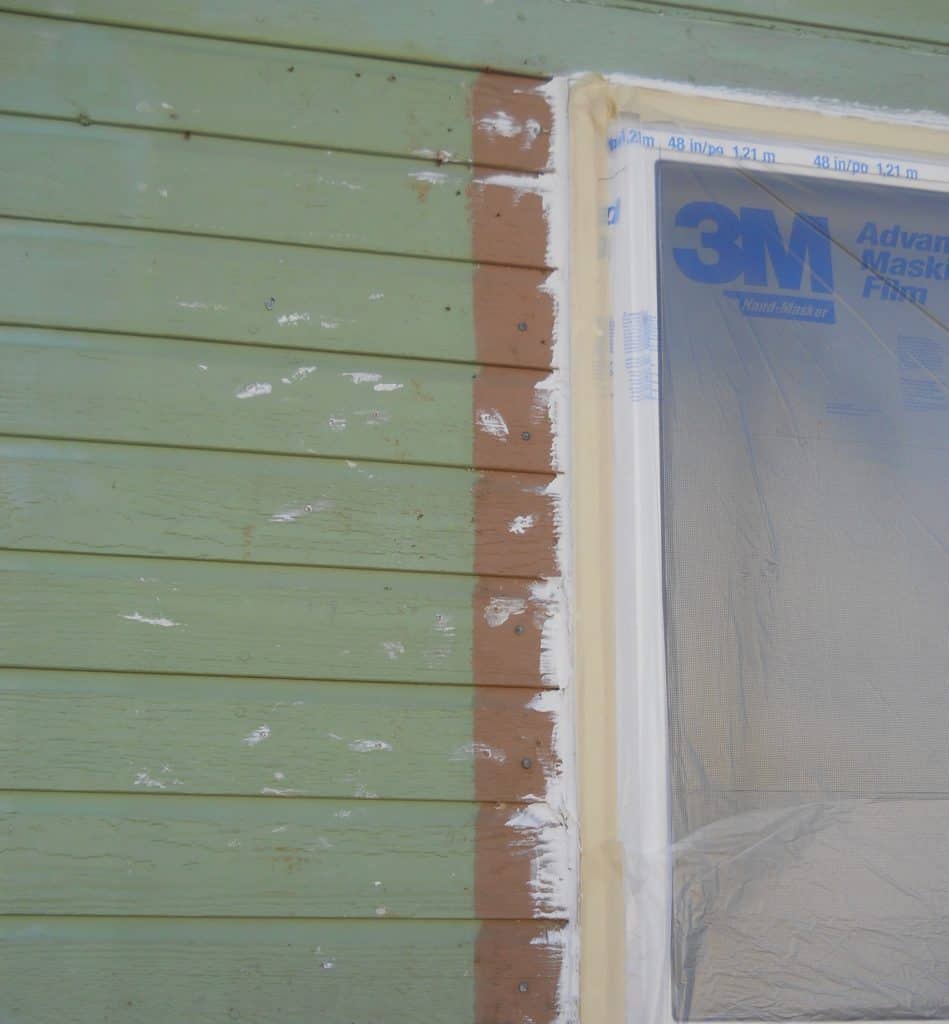
Everything around the exterior perimeter should be covered with 3M™ Drop Film, Brown masking paper, visqueen or disposable plastic sheathing. Reusable canvas drop cloths are also good in certain situations. Better mask it, before painting.
Some painters use brown paper around the sides of all windows, folding the corners like a gift package, carefully creased edges. If plastic was not used in the centers of the window, and a gust of wind caught the paint spray a certain way, someone would be cleaning paint over spray off the windows! So best cover windows completely, what ever you want to use.
Mask brick, windows, doors, roof edges, light fixtures, and shingles not to receive paint holding masking material down with painters tape. Masking and covering is an important preparation before painting any home, exterior or interior, so you had better plan on spending several hours if not days to do this. Once more, do not get in a hurry on this task, or you'll be seeing paint where you did not want to see it when finished.
Prime All Bare Wood
Most exteriors which are repainted will have spots or areas of bare wood. These areas must be primed, using a high-grade extreme bonding primer first. Even the very best 100% Acrylic Exterior paints grab and hold to primers much better than bare wood surfaces. Bonding primers grab and adhere to bare wood much better, for which they are intended.
Usually not every exterior surface needs primer, only spot priming bottom edges of siding, where old paint has been scraped, removed and filled, where oils seep out. Any wood showing deterioration is a good spot for primers also. This helps seal the surface, thereby allowing a fresh coat of paint to be applied 24hrs later.
Recapping Painting Steps Before Painting Exterior
- Power washing exterior, allowing to properly dry
- Cover all areas not to receive outside paint
- Scrape all loose paint
- Sanding mil thickness differences
- Fill gaps with caulk, exterior Spackle
- Prime all bare wood, Spackle areas
There you have it! Be ready so spend enough time and effort if considering doing all this yourself. A large feat if I say so myself. You will be spending in excess of one thousand dollars for all the proper materials, tools, & supplies to complete this job for a modest size home.
If you don't feel like tackling this yourself, or have the patients, aptitude, or energy, you might consider contacting a professional paint contractor, with the best painters in your local area.
Hope this helps you in all of your house painting endeavors, and like to hear from you in comments below!


[…] Steps Painting Wood Siding […]
[…] professional exterior paint job will require sanding paint edges where chips were removed, and old paint is remains. This thickness difference is the actual paint […]
[…] unless primer is included within paint's formulation, many life-time paints have today. Reason why priming bare wood is so important, is primers have much better adhesion properties than latex paint has. Exterior […]