How To Repaint Exterior Wood Trim
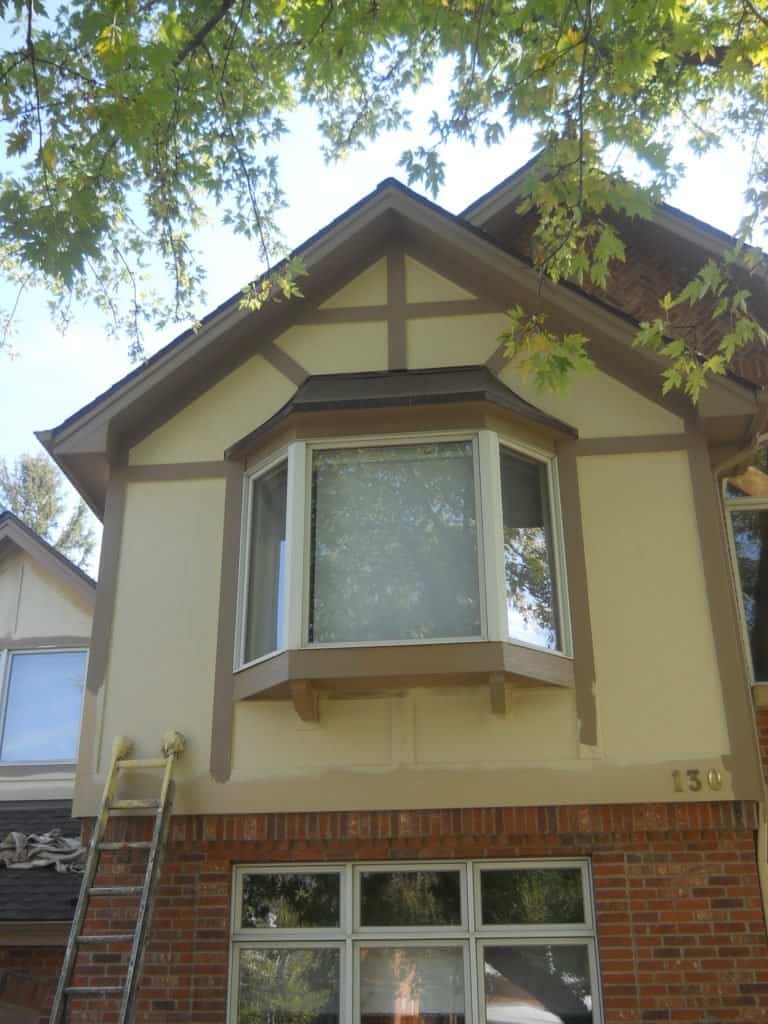
Learning how to repaint exterior wood trim has never been any easier, following steps listed below. Painting over outside wood trim includes soffit, fascia, corner boards, & trim bordering windows and doors.
Ideally, when painting trim, you'll want it to look brand new, not a repainted job. What makes a job look like a repaint is not smoothing out surfaces before paint is applied.
We will go over all steps how to repaint exterior wood trim, making it look brand spanking new once again. Take it from a painting contractor in Denver, having over 40 years experience, painting homes, this subject is indeed an expertise.
How Do I Repaint Exterior Wood Trim, Using Easiest Method?
OK, here we go, guiding you the most concise methods we've developed over the years making homes look brand new, incorporating our easiest methods we've found. This is important, because never having warranty issues months, years, or decades later.
First like to say, exterior wood trim is typically the first thing to show when paint fails. As paint ages, hardens up, thereby cracking, peeling, chipping, or flaking off. Once this occurs, water is able to penetrate wood, swelling it, causing more paint to lift up.
So it is imperative having a smooth, solid uniform paint film, listing steps below;
Best Methods Repainting Exterior Wood Trim
- Power Wash Entire Exterior
- Replace Deteriorated Wood
- Scrape, Fill, & Sand Boards
- Caulk Trim To Siding
- Priming all bare wood trim
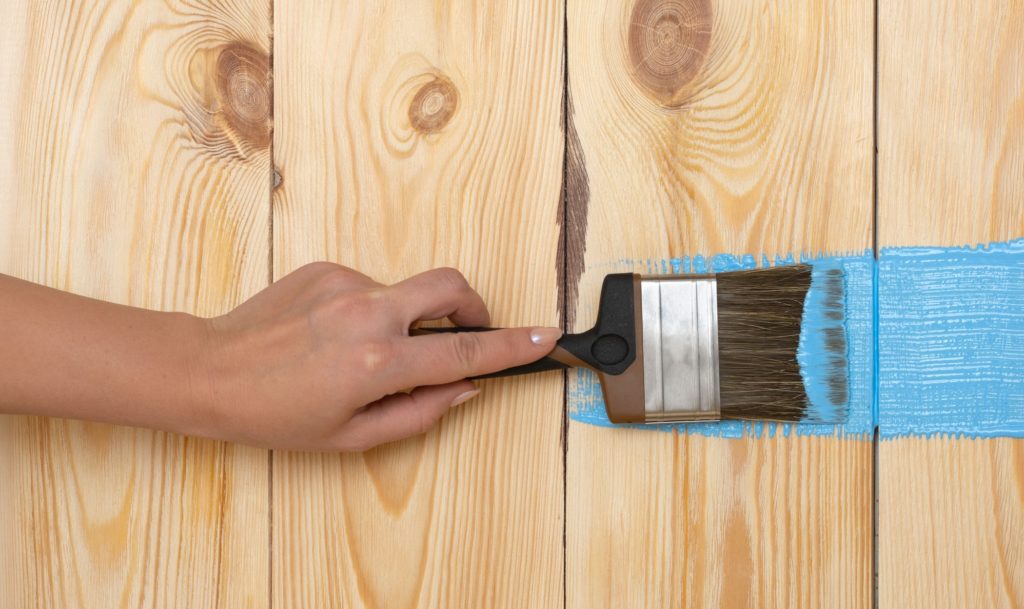
- Repaint Trim, Using Brush & Roller
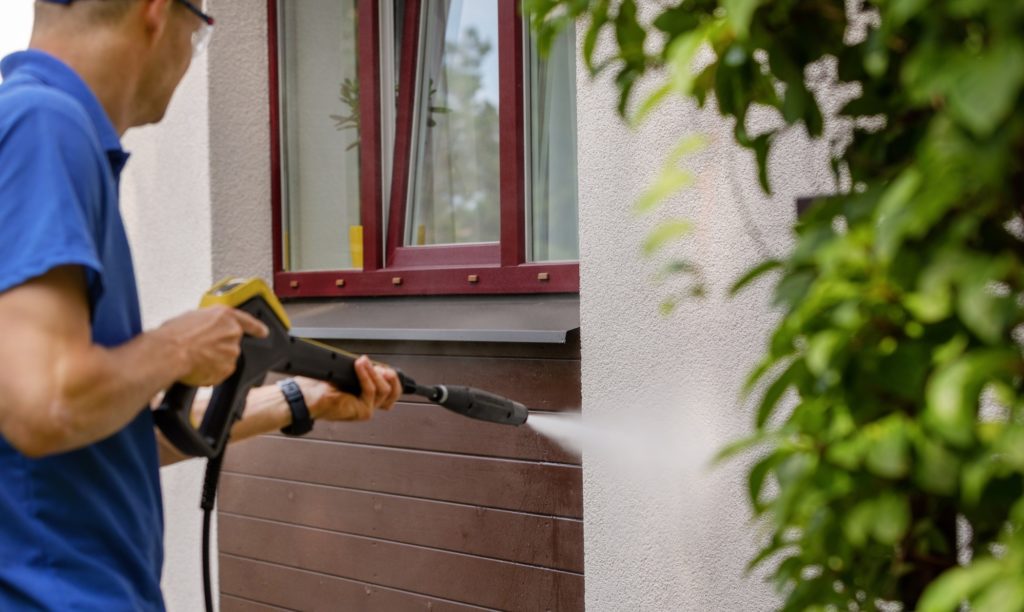
First step before painting exterior is to clean it. Getting as much dirt, grime, dust, & debris off using a high pressure power washer. Not trying to peel old paint, as high pressure power wash would harm the wood before removing all necessary paint.
We just lightly rinse all surfaces outside. Remember to shut all the windows & doors first! This way you'll have a clean slate to work with, just as an artist has a clean piece of canvas, before painting a new work of art.
Normally spending only 15 -30 minutes going around the average home, power washing wooden siding, trim, soffits, gutters, and fascia. Then we go about our other daily activities, returning 24 to 48 hours later, allowing everything to dry back out.
Wood Replacement Before Trim Paint
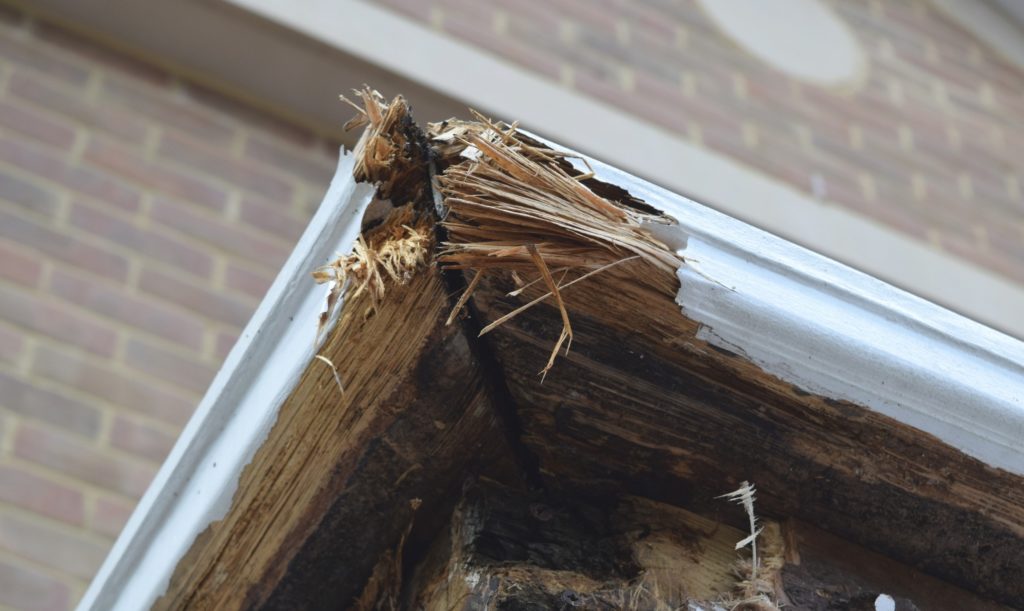
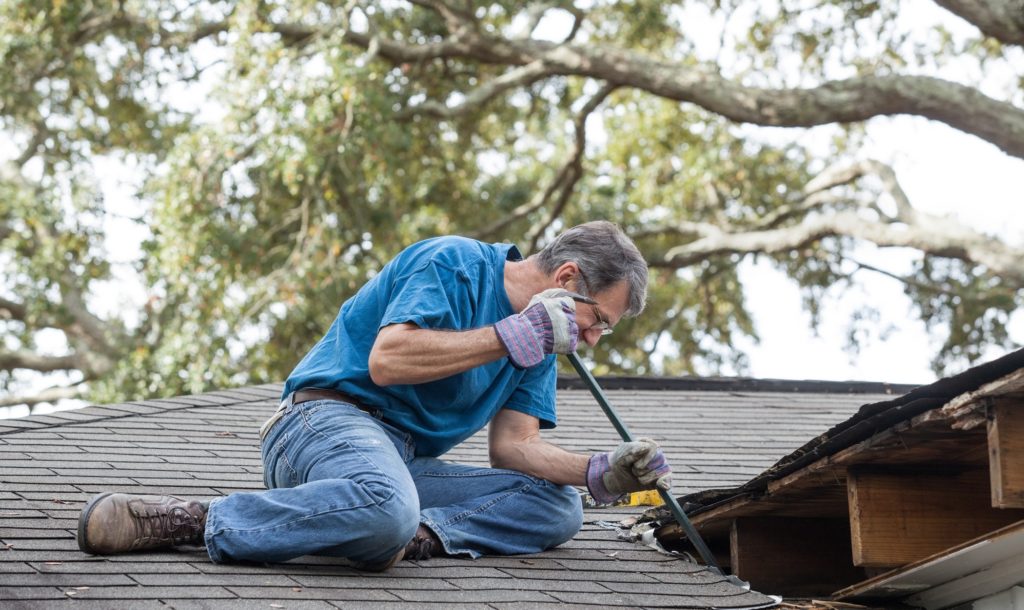
During power washing, you'll be able to determine if any obvious wood has deteriorated beyond repair, needing replaced. Soffit & fascia are prime areas requiring replacement.
Main reason for deterioration is moisture. Any areas that keep snow, ice, and water near, wood is bound to fail. So your best suggestion is not only replacing, but prime and paint these troubled areas, weatherproofing.
These areas usually have very soft wood, falling out, holes, blackened areas from mold &/or mildew.
I know this can be a pain to replace, but let's face it; Paint is not smart! Paint is only as good as the substrate it covers. So, any wood trim that has rotted away, must be replaced.
Replace Fascia Trim
Better have basic carpentry tools available to you. Those include a measuring tape, saw, nails, & hammer. Getting exact size of same trim boards at your local box store is easily found. Remember to add about 10 - 15% waste factor to your measurements, so you don't run out of wood, just before finishing.
Scraping, Filling, Sanding Trim
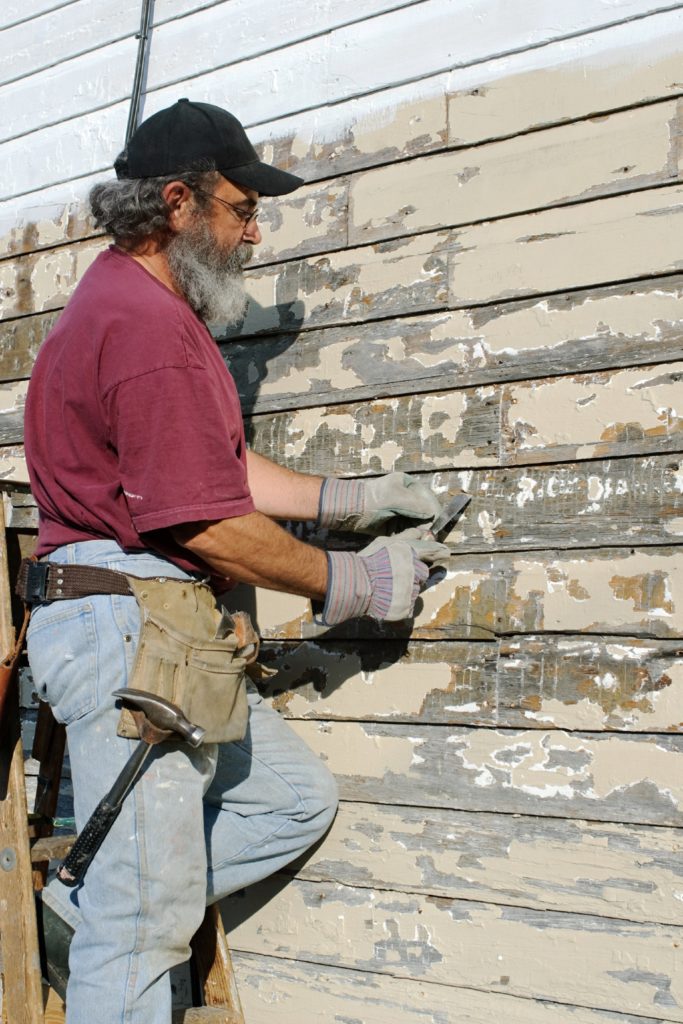
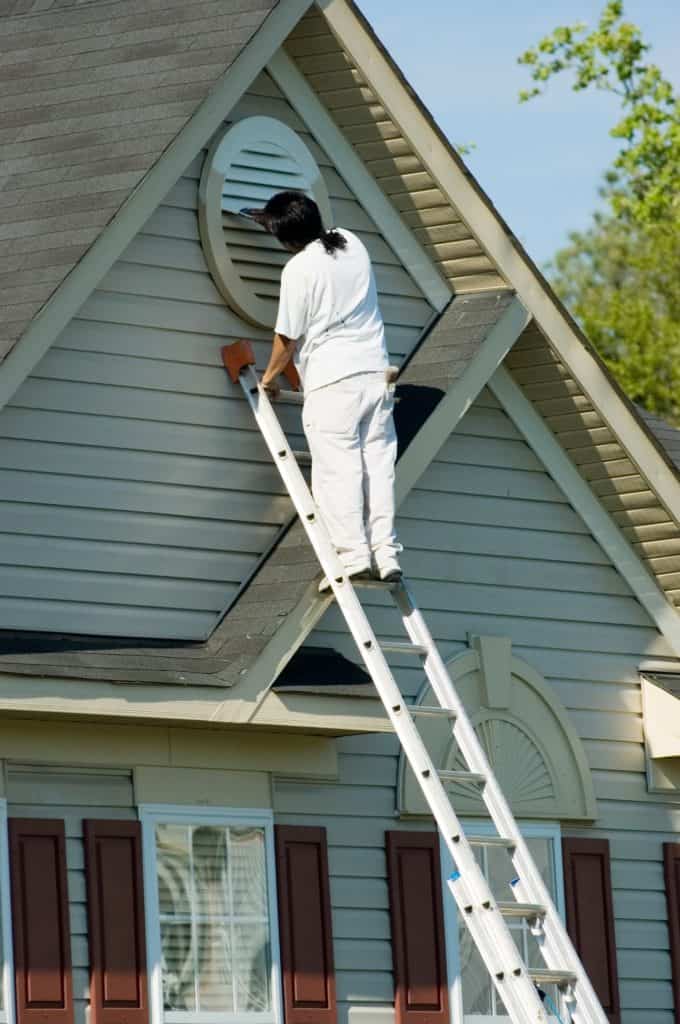
Scraping all paint that has failed. You do not need to scrape all paint before painting exterior siding & trim. Great idea to test all areas of exterior, making sure older paint is still properly adhering.
Easiest way to test these areas, is taking edge of a scraper, tapping paint. If it sounds hollow, probably has air-pockets underneath. This paint must be removed, scraping away.
How to scrape older paint is getting edge of scraper underneath, lifting it up. Using long arm strokes, keeps from gouging wood.
Just as a dental hygienist uses a tool to check flack on teeth, you're doing the same on a much larger scale, checking paint. Removing all paint that is cracking, peeling, bubbling, blistering.
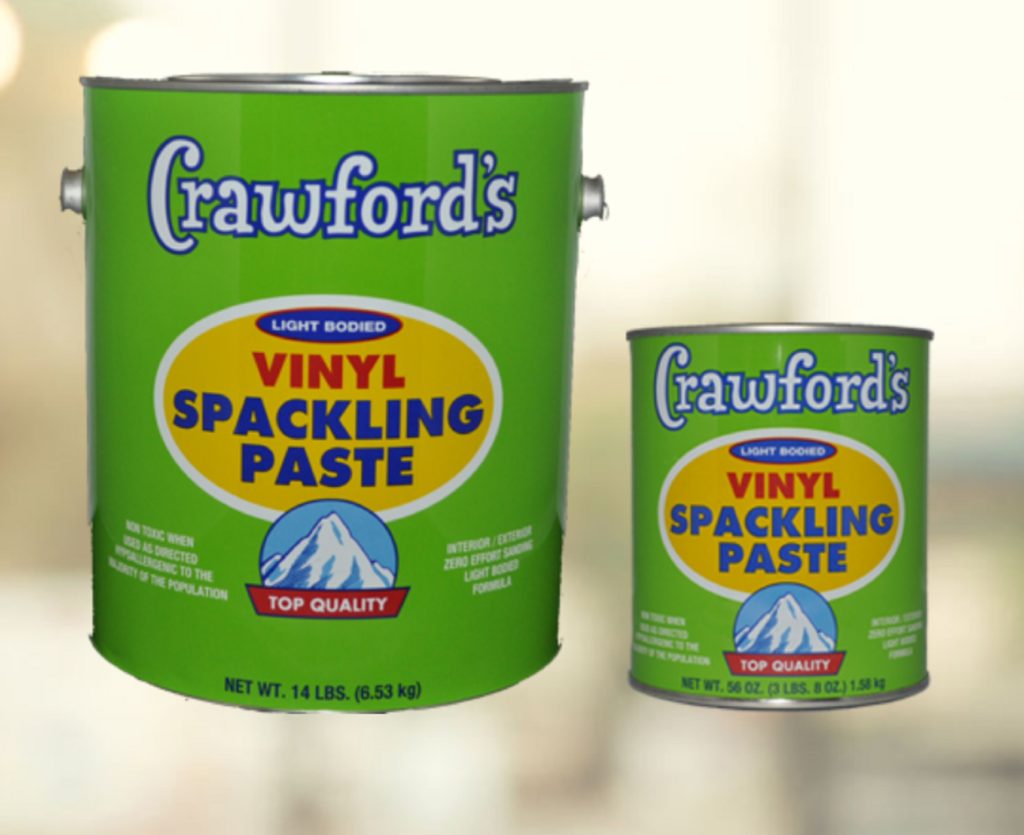
Once you've scraped all paint, it's time to fill all scraped places. Best using an exterior wood Spackle. We like using Crawford's® Exterior Spackle. Putting a blob on a 4'' trowel, smoothing it out. This way, once it's sanded smooth, will cover the mil thickness difference, like a car bondo is to an auto-body repair, filling in a dent.
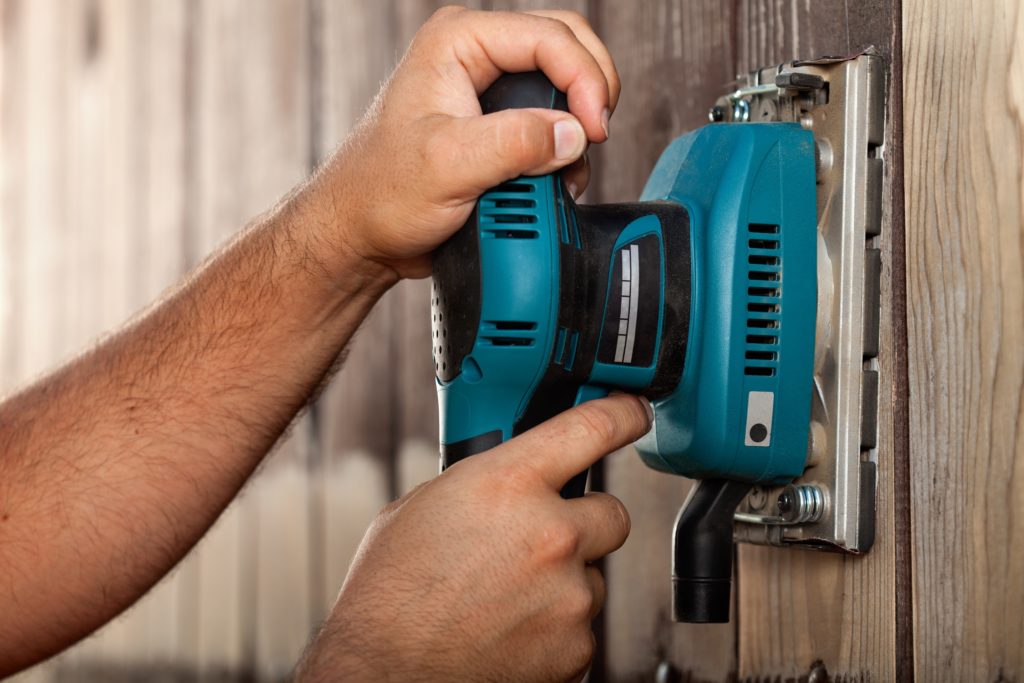
Sanding, especially wood trim around windows, doors, and other very visible areas. Take special considerations where hands touch a lot. Who wants to feel something real rough? Starting out with a 80 grit, following with a 100 to 120 finer grit, for a very smooth finish.
We like using sanding blocks for smaller areas. If a lot of sanding needed, we like using orbital sanders for handrails, flat door and window trim.
Caulking Trim to Siding
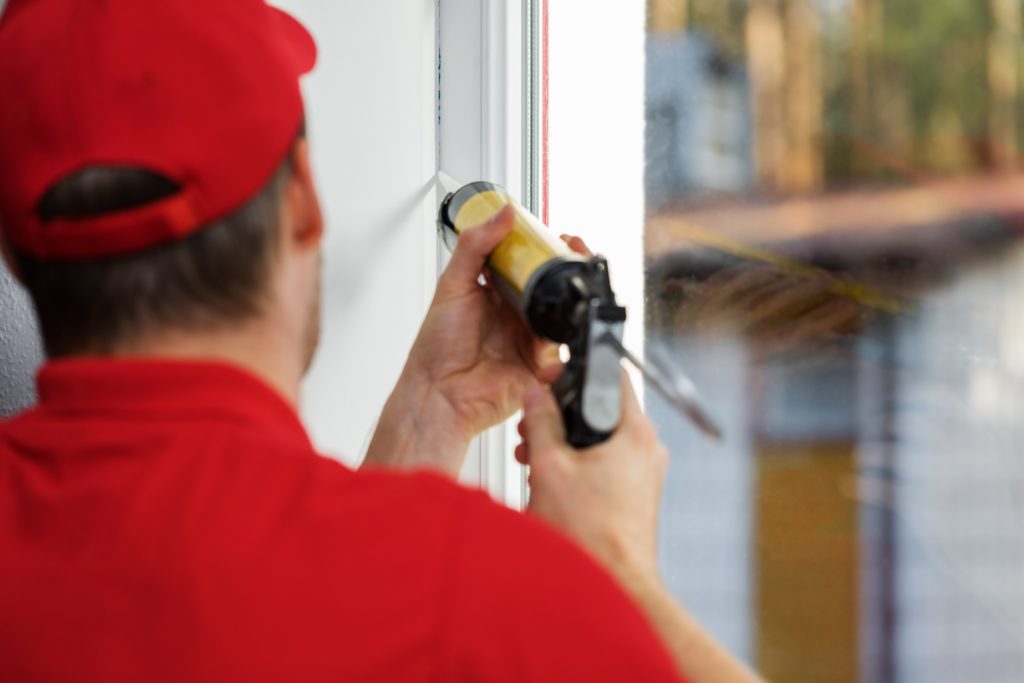
Where trim is laying on siding, this edge must be caulked. If older caulk has broken away from one edge or another, it's time to remove older caulk first. Using a high grade of silicone latex paintable caulk, dispensing out of a non-drip caulking gun. Make sure to wipe caulk, as this smooths it out, before painting.
Caulking trim is very important, in that you're sealing this from allowing any moisture getting behind the trim boards later. Keeping moisture from getting behind will ensure the paint you're about to apply will last, also keeping boards from ever rotting.
Caulking is the most common task known to most homeowners related to house painting. A very important task I might add, so not scrimping on quality, we use the highest quality for all of our exterior painting jobs. A 55 year Sherwin-Williams™ 1050®, or Sherlastic® caulk, both are excellent exterior caulks, giving proper adhesion properties.
A typical home will require 12 to 24 tubes of caulk, caulking trim to siding. Make sure to caulk backside of fascia to soffit. Giving a more finished look, but not required.
Spot Prime All Bare Wood
All bare areas you have scraped, filled, sanded, or caulked, needs primer. This insures the effort you've just completed will be sealed properly. Not only that, but spot priming gives your final exterior paint coat something better to grab, bonding to.
Good bonding exterior primers have chemicals in formulation, bonding to bare wood much better than many exterior paints w/o primers built in. Once you spot prime, you'll be sure you've sealed properly, before putting on final paint coat.
There are many high quality exterior paints today, some lasting a lifetime! These lifetime paints have it's manufacture's best exterior primer added to it's formulation. We as a contractor here in Denver, paint many homes using Sherwin-Williams™ Emerald®.
Highest quality we feel from all others, how good it lays out, how good it covers, how good it looks after it dries. However, in troubled areas, or areas we've replaced trim, we use Sherwin-Williams™ Extreme Bond Primer® first. Although Emerald® has Extreme Bond Primer® in it's formulation, which is why it's the highest priced exterior paint, but well worth every penny.
Repaint Trim With A Brush Or Roller
There you have it. Painting trim has never been easier, although most time consuming. More attention to details comes to painting trim.
If you are painting entire exterior yourself, ideally after spraying siding, repainting trim with a brush or roller is your best, most quickest method of application.
There is no need to mask trim, as giving it a body over-spray coat as well. Like putting on extra coats of paint on trim, once it's all completed, finishing trim with a brush and/or roller!
Generally only painting the front of all trim, typically referred to as "Front-facing" trim. Painting all 3 sides is called 3D. Edges of trim is usually the siding color, just painted, when spraying siding.
Painting all 3 visible sides of trim with trim color is much harder to do, and is not ordinarily practiced, as it adds to the cost. I bet if you looked outside right now, your trim is front-faced, instead of 3D.
Repainting exterior wood trim is where you'll feel your best artist techniques coming to life. This also is where I must give you some very important suggestions, making this section of exterior painting go as easy as possible for you.
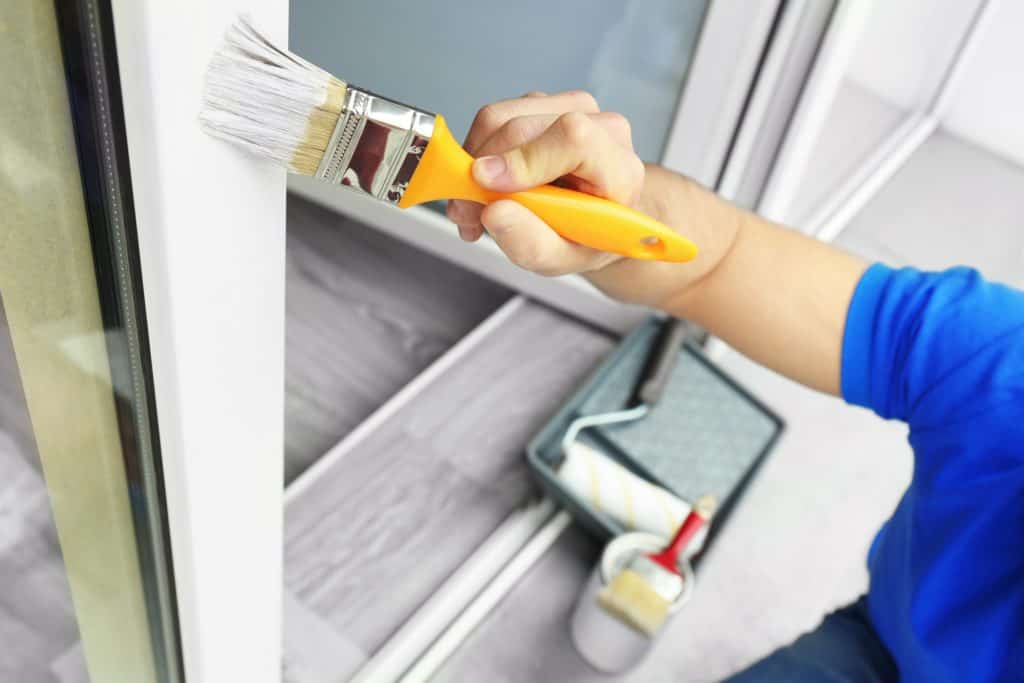
Sizing up a paintbrush or roller painting your trim is by far one of the most important things you must do. Painting 1'' X 4'', 1'' X 6'' trim, soffits, or fascia using a 3'' brush or roller is ideal. If you use any smaller size, you'll be spending much more time painting the same amount.
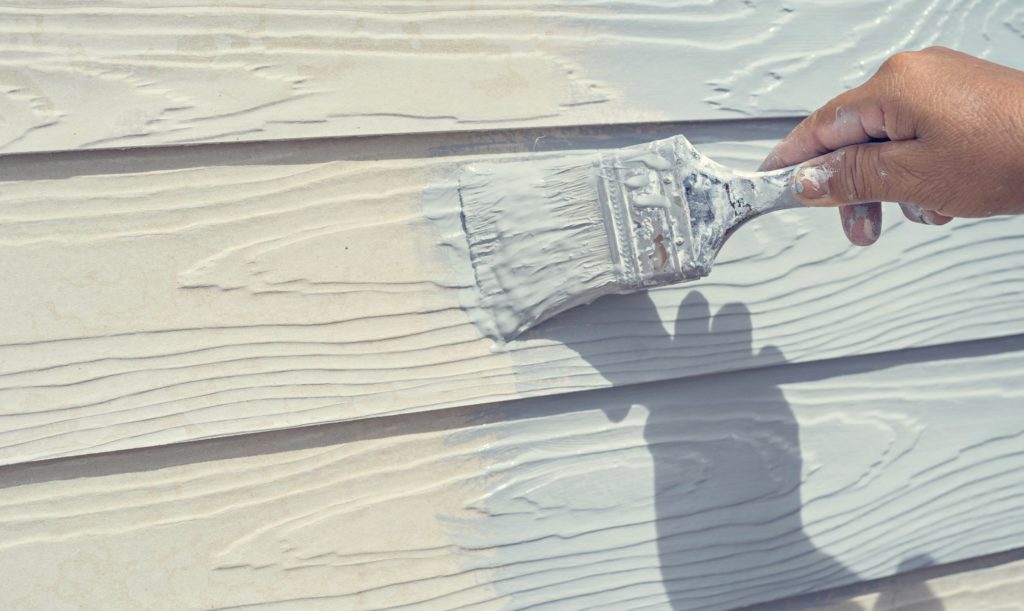
With correct brush and roller size, it's always best to brush or roll with the grain, not across, for a much smoother, even paint finish. When painting same direction as the grain, use much longer brush strokes too.
Normally using an arm's length, keeping a wet edge, as you brush or roll. This will insure you're repainting trim like a pro.
Painting trim takes most time of any facet painting entire exterior yourself, but well worth your efforts.
If repainting trim is just too much work for you, and considering hiring that portion out, you maybe in for a surprise. Generally painting trim is 60% of the total exterior paint job, since it's most time consuming, most labor involved.
Price Repainting Trim
We get many calls each year of those who had good intentions, trying to save a buck, painting their exterior themselves, only to find out the higher second story portions, along with all the trim is still going to cost them several hundred dollars. Knowing the cost to paint exterior trim, several other important factors should be given.
Biggest factor to keep in mind, if only painting exterior trim, is no caulk is part of the equation. Since caulk is applied to both siding, and trim, you'd have a hornets nest trying to cut in, touching up new siding paint. Touching up siding paint will never match if your older paint is several years old, just because exterior paint is not resistant to fade.
Best Prices for Trim Paint Near You
In closing;
Now you know how to repaint exterior wood trim like a pro. Making this process as easy as possible for a long lasting paint coating. Pay close attention to window & door trim, soffit, fascia, also corner boards.
Following steps listed above, will make your exterior trim look brand new, not repainted. Having a smooth, consistent evenness is most sought after. This is also pleasing to the eyes.
Good Luck painting your exterior trim, let me know your experiences below, by your shares, comments, or pings!

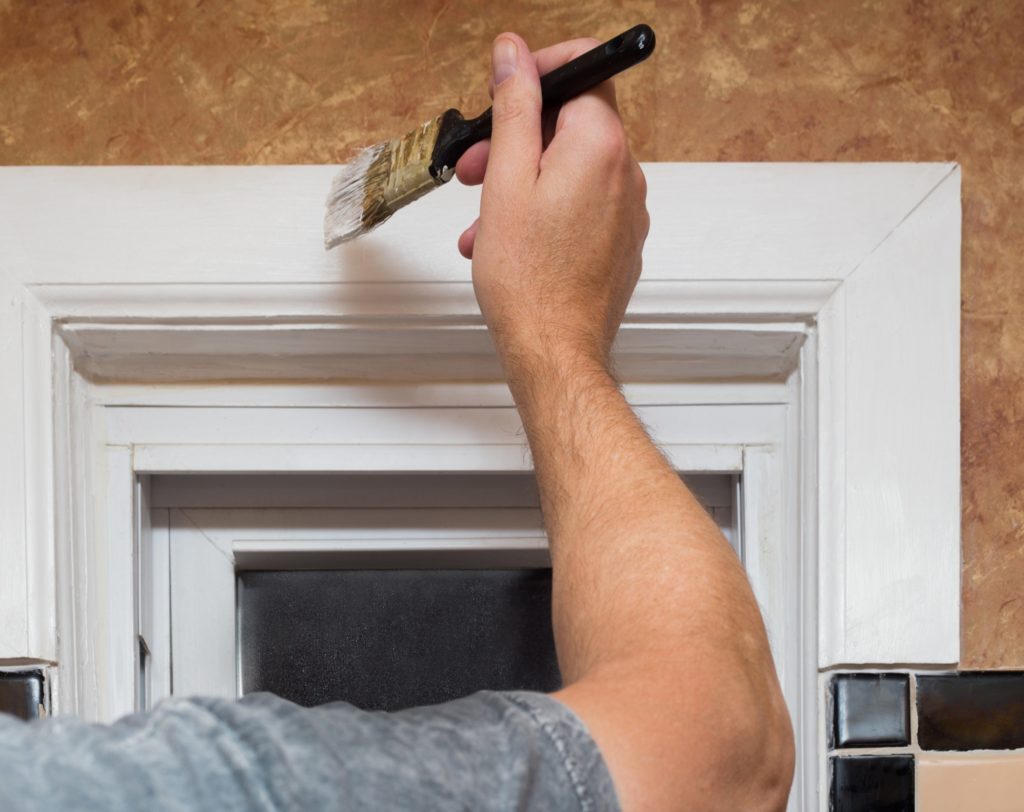
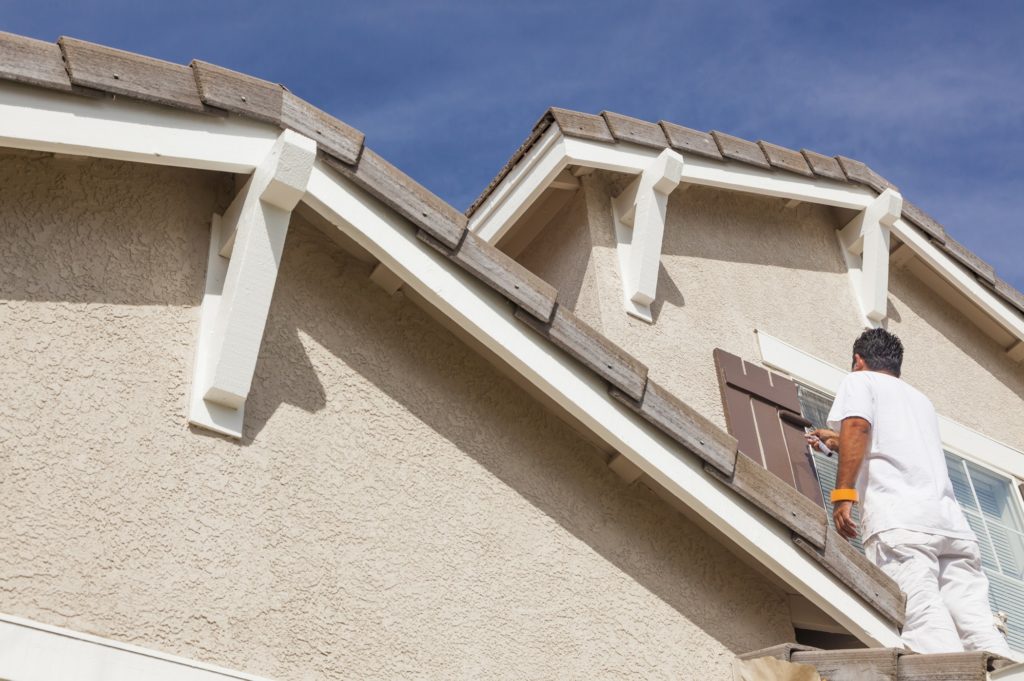


[…] fillers, sealing trim, allowing primer to properly dry. Once primer has dried, trim is ready repainting exterior trim, looking brand […]
[…] satin was rolled out, it has never looked back, being the sheen or finish most homes are painted today. This goes for previously painted homes, needing repainting across the USA. Most new homes, older […]
[…] Those areas in direct sun will dry out much quicker, than those in shade. Ideally, using a hand scraper, going over loose edges when painting over outside wood trim. […]