How Do I Prepare Exterior House For Painting?
So, wondering how do I prepare your home for exterior painting? Following preparations listed below, will ensure you a protective paint coating, lasting many years to come. Outlining how your proactive preparedness will benefit long term goals for paint.
A cornerstone of outside preparations, guiding you along with any home's exterior painting job. A set of typical steps, making your home ready accepting premium exterior paint you've chosen.
Want to get ready, inquiring how do I prepare exterior house for new paint? OK, you've making right decision, biting the bullet, freshening up your exterior. Not only will you love it, but so will your neighbors. Following the coveted steps mentioned below, prepping needed, getting off on the right foot.
How To Prepare Your Exterior House, For Painting To Last?
An expert in this field, laying out all knowledge, helping your prep for next exterior painting project, lasting many years to come. We do not deviate this cookbook recipe with each exterior paint job we do. Painting nearly 300 exteriors per year here in the Denver metro area. Listing below several steps you must make prior, getting exterior surfaces ready for paint. Going over each one in full detail.
Just like any labor intensive, mechanical task, requires it's own unique preparedness. Painting exteriors has no exceptions either. Obtaining knowledge what's in front of you, fully informed before you get started. Being well versed on any topic, will make most jobs go much more straightforward.
Setting aside time for each step, how you prepare exterior house for painting ;
- Choose color scheme, sampling colors
- Make any structural wood repairs
- Power wash exterior surfaces
- Trim vegetation, trees, bushes, shrubs
- Let outside surfaces completely dry 24-48 hours
- Scrape all loose paint not adhering properly
- Sanding edges where old paint is removed
- Remove loose old caulk, re-caulking with paint-able latex caulk
- Seal all bare wood surfaces with high bonding latex or oil primer
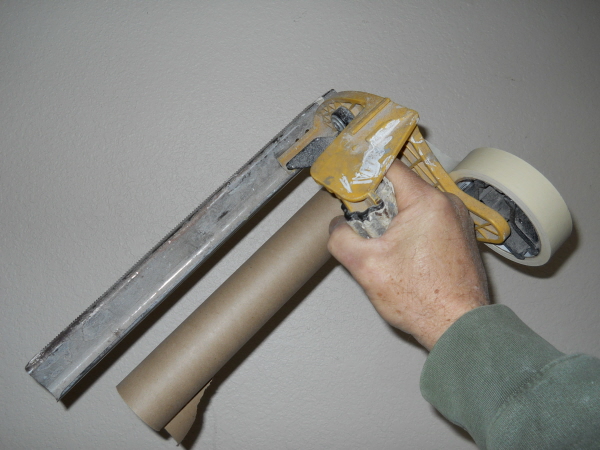
- Masking all areas wishing no paint
What Steps To Prepare, Planning To Paint Home Exterior?
Having a blueprint or roadmap as you plan preparing to paint a home's exterior will make this process much smoother.
Each step to prepare painting an exterior home is listed first in, first out (FIFO) order. Following this order of paint preparation will also ensure everything is covered properly.
Deviating or skipping a step in preparations most likely have an adverse effect with final outcome.
Before picking up a hand scraper, high pressure washer, or masking tape, it's time to take a step back. You're getting ready to paint a large canvas, your prized home's exterior. So it's worth giving some careful consideration, choosing paint colors first.
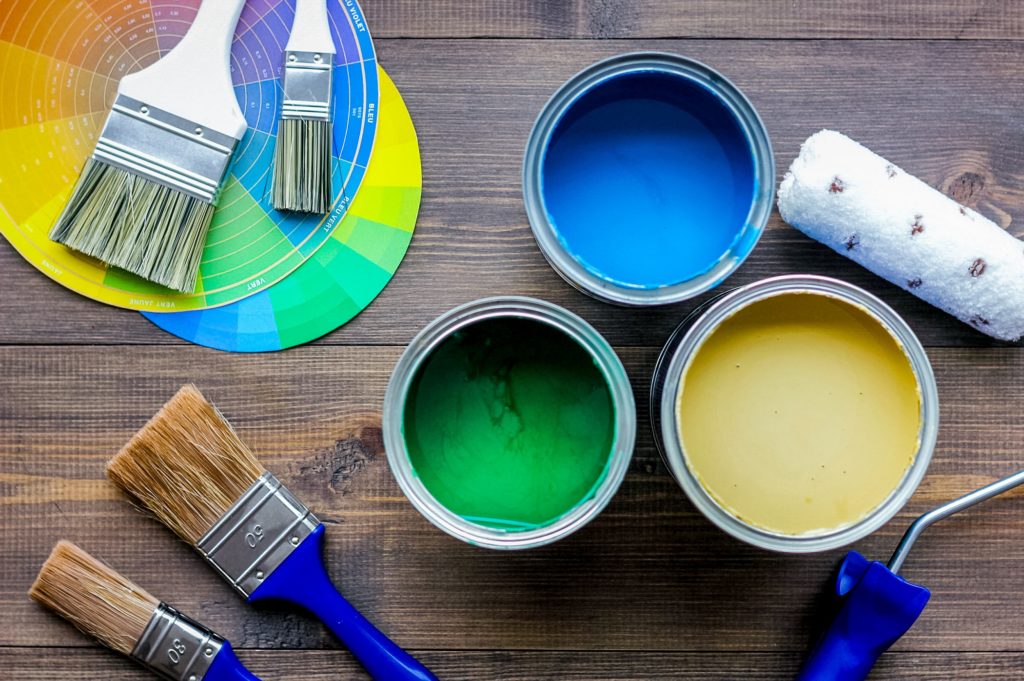
Pick A Paint Color Scheme Everyone Will Enjoy
Much has been written on this very subject, properly choosing exterior paint colors. This is the first order, planning paint color layout or scheme for an exterior. Laying out color for field, trim, and many cases an accent color.
Typically in most cases, entire exterior body or siding is painted same color. All trim is painted it's own chosen paint color. Accent color is a third color highlighting front door, shutters, and any attachments, such as louvers or vents.
Have you picked out exterior paint colors?
Even if you want to repaint using same colors, but not having an old paint can, or know color name & catalog number, best choosing a given paint color with any paint store you use.
Reason for this is it is no custom color match with a paint brand's color name with 4 digit catalog number. Choosing a known color, amounts of colorant will never change, and paint store can make more years to come exactly what you purchased today.
Reason why choosing paint colors is so important is one, exterior paint is not cheap, and two, exteriors are not painted everyday. Ha, exteriors not painted everyday, unless this is your line of work, as a painting contractor. Never know, picking colors may take longer than you expected. So not feeling rushed, you'll want to make certain colors you've decided.
Exterior paints applied properly will last many years to a life-time. Therefore, preparing to paint your home's exterior, choosing correct color sheen & scheme you'll be very happy with, is most important, first step.
Most exterior paints range in price anywhere from $30.00 a gallon to $90.00 a gallon. Depending upon size of your exterior home, this can be a sum of thousands.
Therefore, sampling chosen colors on your own exterior is highly recommended. Reasons for this is colors on a brochure can look different outside next to brick, roof, or vegetation surrounding your home.
A key step preparing to paint an exterior home is choosing paint color. Once you have colors narrowed down, it's time for physical work, prepping exterior surfaces for painting.
Time To Trim Vegetation Surrounding Home
Before power washing, allows perfect time to trim any trees, bushes, or shrubs. Any vegetation closer than 18'' to your home, needs to be pruned back. Not only does it make it easier to paint, but gives your new paint a much better chance lasting longer.
So many exteriors we are asked to paint each year, nearly half have some sort of vegetation too close to siding. Trees hanging over roof, rubbing against gutters, soffit, and/or fascia.
I know this is not what you wanted to hear, but believe me, pruning around your home is important before you start painting. We are not horticulturists or tree surgeons, nor our level of expertise. Therefore requesting this cut back before we get started, listing benefits.
Besides scraping, shrubs too close to siding can retain moisture, harming siding very quickly, if it's not already.
Not only can trees or plants damage paint itself, but keeps moisture longer on surfaces. Allowing moisture to drain, rolling off as quick as possible, less likely this area will deteriorate.
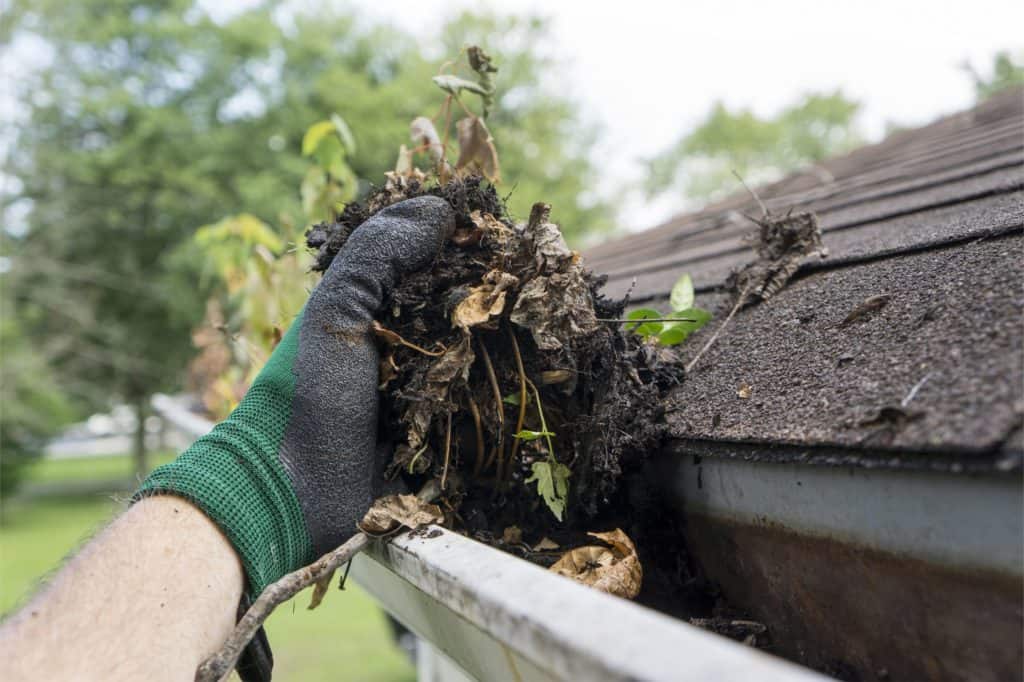
Same goes for gutters too. Great time to clean those gutters before picking up a paint brush.
Gutters can easily get clogged up, which will cause water to overflow. This water not properly draining, will harm paint in one season! Areas to be aware, where clogged gutters can adversely effect paint and destroy wood is on siding, fascia, also soffits under roof-line.
Cleaning gutters is not high on anyone's priority list of things to do. However, preparing to paint outside, cleaning gutters is a must before painting. Worst case scenario would be you have clogged up gutters, which could pour over a fresh coat of paint after work is done. So you might as well clean them first.
Also you may risk getting some of that gutter sludge on your freshly painted exterior. Therefore, elevating that possibility, get those clogged gutters cleaned out first.
Make Any Repairs, Replace Deteriorated Wood
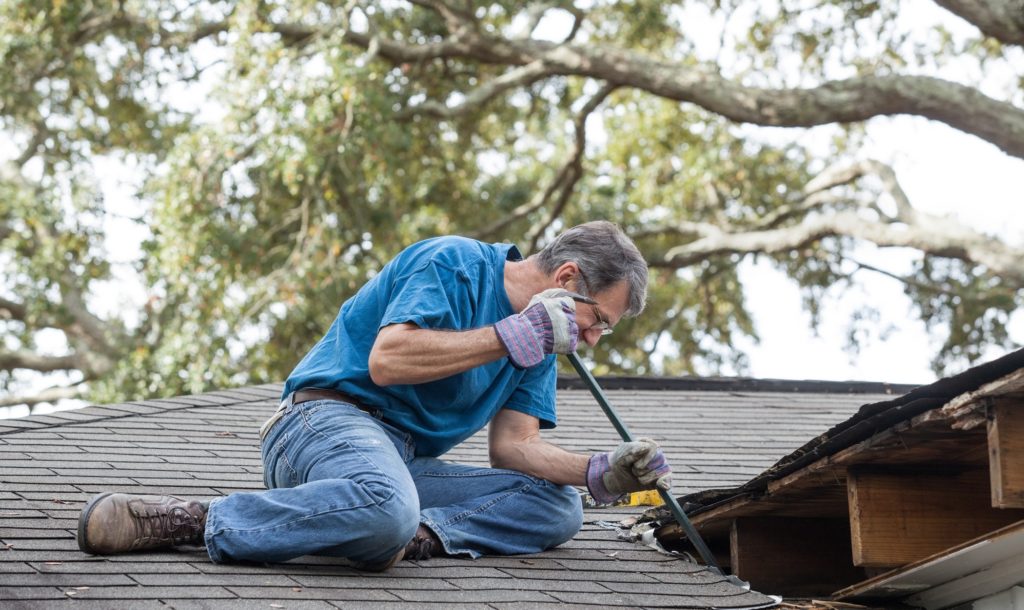
Replacing any rotten wood is next on our list preparing to paint, once paint colors chosen, and you've got gutters cleaned. Get your hammer & nails, saw, measuring tape, saw horses, and pry bars out.
Understanding paint is not smart, only as good as the substrate it covers. New paint does not magically repair rotten wood, so best replacing structural wood first.
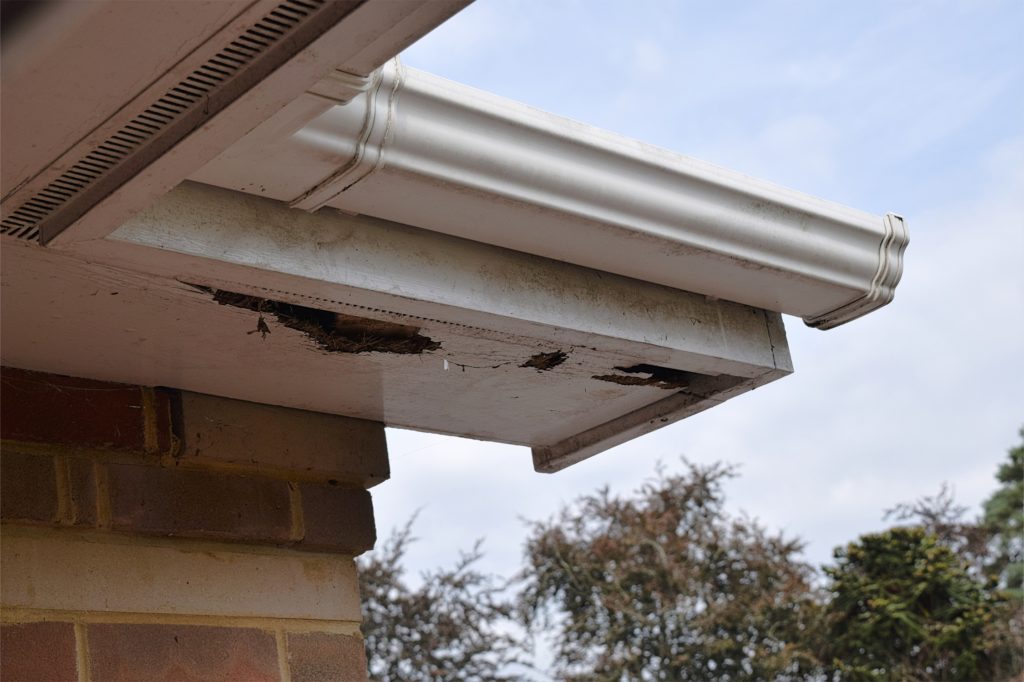
If there are any areas of de-laminated, rotten substrates, this must be replaced first, before applying any primers, or paint coatings. Just as important making any repairs, finding what caused damage in the first place, to rectify the situation so it doesn't happen again, anytime soon.
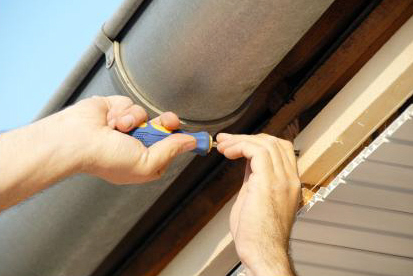
Areas to observe is window trim, soffits, fascia, corner trim near ground, or any siding swelling out. Other good places showing possible rotten wood, is where shrubbery was pruned back .
How I determine if wood is rotten is my first observation. If area is discolored, swollen, wood flaking away, I still check how extensive this deterioration has gotten. Pulling out my pocket knife, using sharp blade, poking into area. If blade sinks every easy, it's time to replace it.
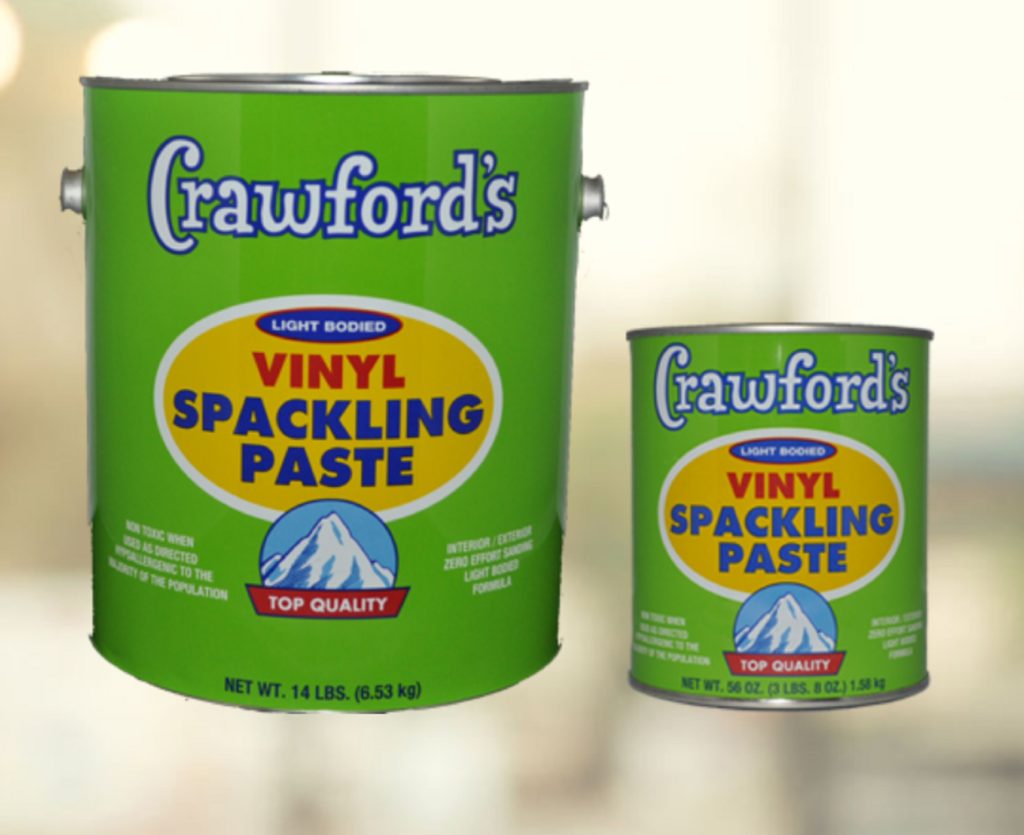
If spot not too deep, these areas can be dug out, filling with Crawford's™ Exterior Spackle covering a void. Spackle requires sanding smooth, after it dries. Crawford's Spackle acts like a car bondo repairing dents in autos. Accepts exterior paint very well, never knowing anything was dug or scraped out and filled, after paint dries.
Crawford's™ Exterior Spackle dries very quickly, paintable within a short time afterwards. Needing to sand filler after it's dried to a smooth finish. Just about every exterior paint job requires a small quart or pint can of this. Having this available, at your disposal to use on a moments notice, while you are prepping an exterior is just as smooth as you sand it.
Main reason using Crawford's™ Exterior Spackle for any divot, gouge, or nail hole is how it dries. Spackle dries to a flat sheen.
As new paint ages, it flattens out over time. Using a stain finish covers up this flat patch, never to be seen again. If using a caulk to fill a divot, or hole size of a quarter will be seen much later. Caulk will still having a shinny finish, no matter how long, but paint does not.
Crawford's™ Exterior Spackle is ideal for making repairs, including in your set of tools.
Do I Have To Pressure Wash House Before Painting?
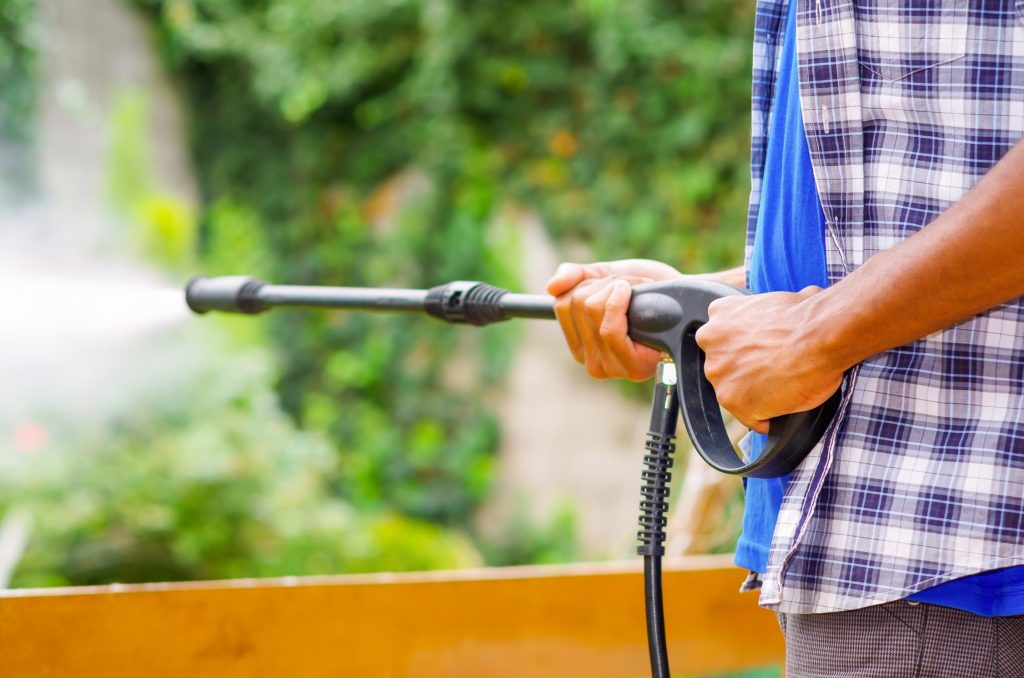
Now you've chosen exterior paint color combinations, cleaned out gutters, making necessary repairs, you are ready to get to work. First line of business is power washing surfaces, lightly removing dust, dirt, grim. Careful doing this lightly, not wishing to peel paint from water jet spray.
High pressure water at 3000 psi can harm wood also. Do not get too close to window screens, as high pressure water can blow through them as well. Best using Yellow, White, or Green spray tips, dispersing water much wider. We rarely use any cleaning agents power washing, unless there is a specific need.
Let Surfaces Properly Dry
After power washing, stop. Take a rest, allowing cracks, crevices dry back out, before going to next step. Typically we wait at least 24 hours, if not 48, or 72. Even waiting up to a week, unless you live in an area with lots of dust.
Remembering we power washed a home out in Strasberg CO. Timing power wash 2 days before painting western side. No grass on this new lot, realizing wind generally blows a lot than usual, especially being all sandy terrain. If we waited too long to paint, our painters would be trapping dirt, dust underneath paint, feeling like sandpaper.
I know this an extreme example, but so was this exterior location, making necessary provisions, painting exterior as soon as we could.
Scraping All Loose Paint Mils
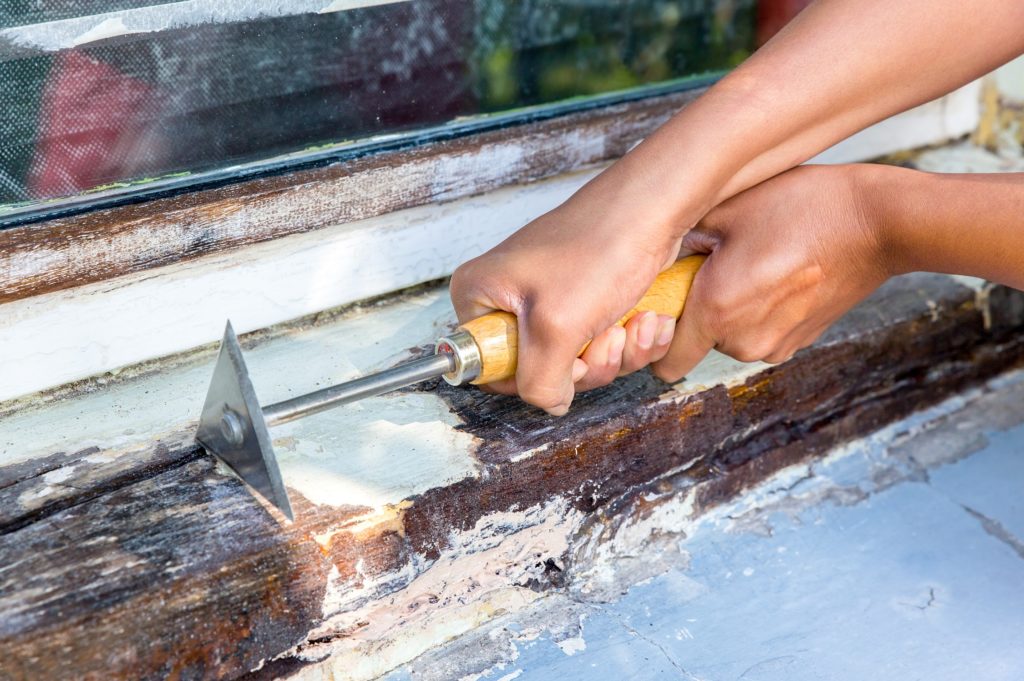
If older paint is lifting up, putting new paint will cause both paints continuing to crack, peel, or lift up, a short time later. So, make sure you scrape all loose paint before doing anything else.
Using best ways to scrape paint off old paint on wood siding, making this preparation step as easy as possible. Paint scraping is a very manual labored task, but well worth your efforts, many years to come.
I really know how reluctant this can be. Like going to the dentist getting a tooth pulled, or waiting in line at the DMV. This guy wishes he could just swing that hammer, knocking off old paint. Mad he's having to do it, but using a paint scraper is what is needed. Actually his own fault letting it get this bad, having to do more work now.
However, paint scraping adds countless years to quality paints, which if not done, can even cause best exterior lifetime paints to fail. As I've mentioned in previous articles, "Paint is Not Smart". A good quality exterior paint is only as good as the substrate it is covering.
Sand Mil Edges Where Old Paint Removed
What is worse is not sanding, feathering edges where old paint removed, leaving other mil thicknesses. Once this is completed, that area is ready for following step.
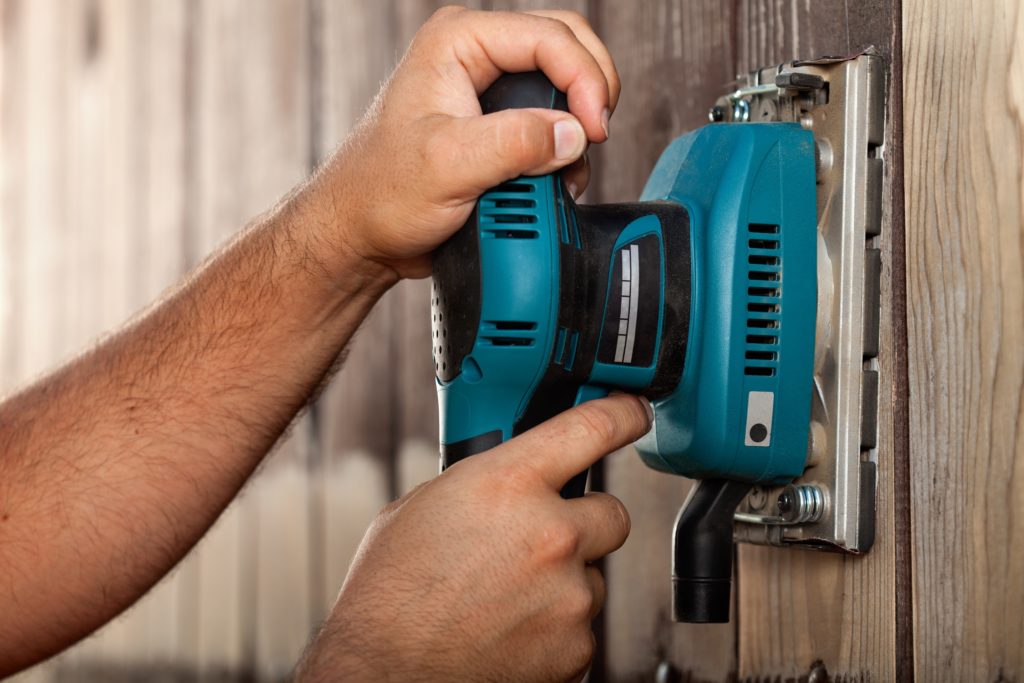
Typically using sanding blocks for smaller areas for sanding, plugging in orbital sanders for larger ones. This step can take some time, depending how much you have, but just make sure you remove all loose paint first, sanding edges next.
Sanding where old paint has been removed, helps for several reasons. Not only scuff sanding allows paint to grab, and adhere better, but feathering mil thickness edges makes for a smooth, more uniform finish.
Is bad seeing mil thickness differences under a fresh coat of paint. Looking like it was repainted. Treating you exterior just like your care or truck, you would not have a shotty looking paint job on your vehicle would you?
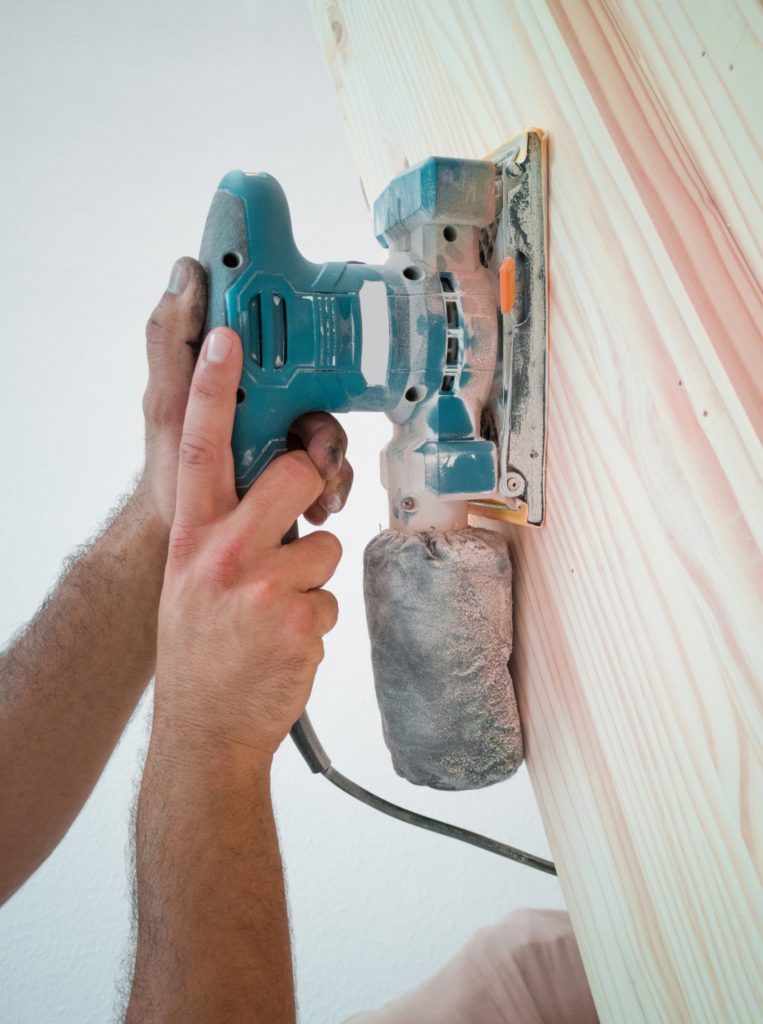
Usually starting out with a heavier grit, say 60 or 80 grit, coming back with a 100 to 120 grit is sufficient for most exterior sanding situations.
If needing an electric power sander, Dewalt™, Makita™, Milwaukee™, RYOBI™, make ideal cordless power sanders.
Caulking Using Painters Latex Painters Caulk
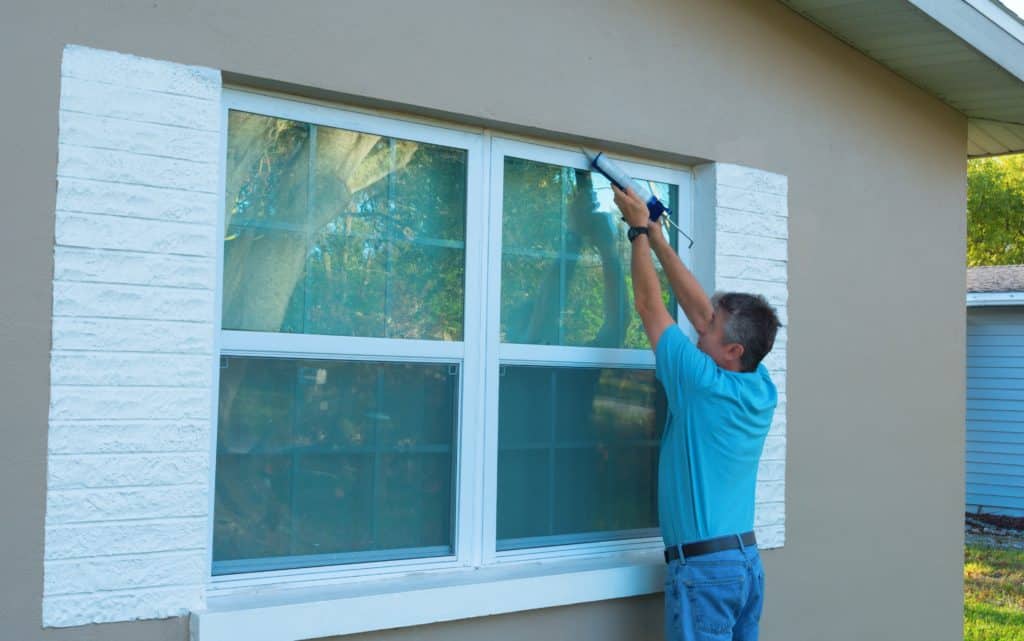
Caulking exterior joints is one of the most common tasks every homeowner recalls. Not only sealing out air, micro-organisms, bugs, but makes everything look much better after painting is completed.
After scraping loose paint, another major task is removing all old loose caulk. This can be done using a very sharp razor knife. Cutting old caulk out, replacing with a latex paint-able painter's caulk. Caulking cracks, openings where two boards come together at 90 degrees.
Running an even bead of caulk, pressing it in with your index finger, using long sweeping strokes. Even able to use a damp rag for a smooth continuous seal.
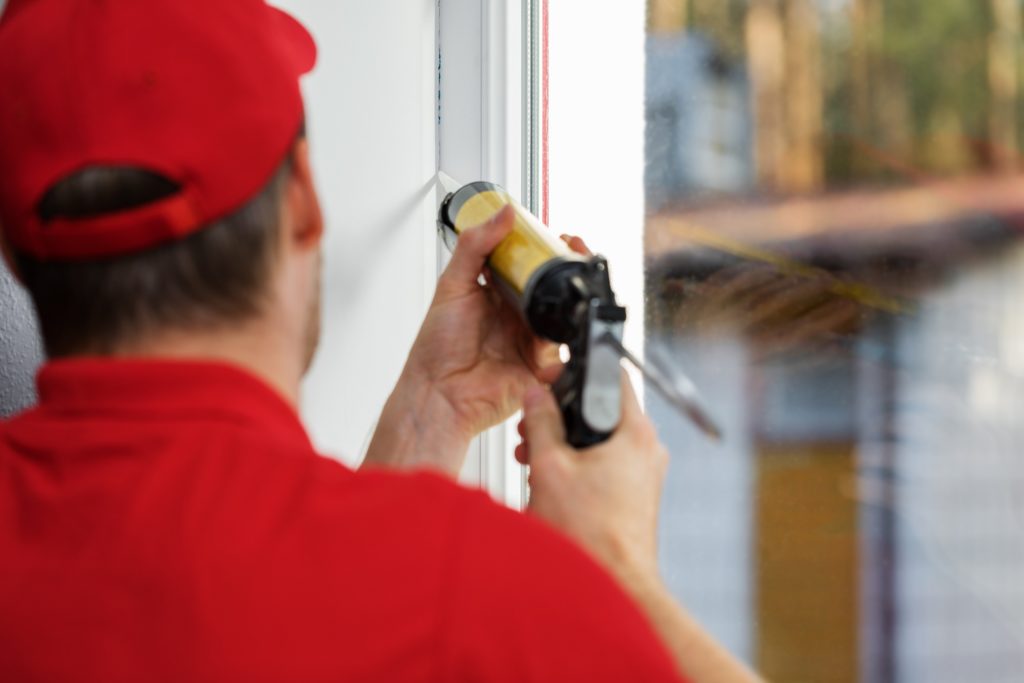
After all joints caulked, should let dry overnight before putting any paint on it. During very hot days, a painters caulk will dry hard to paint over within a few hours. Just be wary not painting caulk too quickly.
Places to concentrate your caulking efforts around trim boards, corners, windows, fascia, soffits, & gable vents. New caulking seals out moisture, making surfaces look much better at the same time.
Generally speaking, a typical modest home's exterior will require 18 to 24 tubes of painters caulk. Really depends what condition your exterior caulk is currently in, and how much you need to remove.
Prime All Bare Wood Areas
Rarely does any home need primer on entire exterior, unless primer is included within paint's formulation, many life-time paints have today. Reason why priming bare wood is so important, is primers have much better adhesion properties than latex paint has. Exterior latex paint bonds to primers much better than to bare wood itself.
Priming where you removed old paint, after sanding edges is a professional technique. Used by most professional painters, knowing what to do first, second, third and so on. Never having to worry of any paint failures again, lasting the duration. Skipping this step preparing to paint an exterior would be a huge mistake.
Asking yourself if you need to prime exterior surfaces of home before painting? The answer is a resounding Yes. Primer bonds to bare wood much better, gripping, adhering to substrate much stronger than typical final exterior paint coatings.
Matter of fact, high quality exterior paint coatings bonds to primers much better than bare wood. So prepping your exterior with a high quality exterior primer is at the highest importance. This cannot be stressed enough, if you wish your exterior paint to last.
If you have wood windows facing outside, much attention needs to be given just in this area alone. Proper preparations needed for wooden windows, priming first, insuring they last the duration of paint's warranty. Just windows alone may require an additional day or two, but well worth your efforts.
Rarely do all surfaces need primer first. Only troubled areas, bare wood, or places you've filled, scraped, or sanded.
Masking Areas Not Receiving Paint
Last important step preparing for exterior painting is masking. Using painter's tape, brown paper, or 3M drop film covering all windows, concrete, brick, + all areas not wishing paint on them. A very serious step in your preparation, making it much easier to mask, than having to clean off paint later.
If brushing areas used, masking areas, making straight lines is beneficial making straighter lines, while speeding up painting process. Always good to test areas masking, making sure no paint migration under tape lines.
If paint migration occurs, a great way to stop this is running a thin bead of painter's caulk, wiping excess away. Allowing caulk to dry, then painting lines will not permit paint to travel underneath tape, making professional preparations painting your exterior.
Recapping, is complete list below, preparing your home's exterior for quality painting;
- Pick Up To Date Color Scheme
- What repairs to I need to make before painting exterior?
- Do I need to trim trees, bushes next to house?
- Wondering how you clean outside of your home before painting?
- How long to wait after power washing before painting?
- Do you need to scrape all paint before painting?
- Do I Need To Sand Walls Before Painting Exterior?
- Do I really need to caulk trim before painting?
- Mask, cover windows, brick, concrete
- Do you need to prime exterior surfaces of home before painting?
List Of Exterior Prep Suppliers
Anyone searching for paint prep supplies, locating either one of these stores, stocking full array of items you'll need, preparing your home's next exterior painting.
Finding exterior prep supply stores for best house paint color apps, also found online,
In closing;
Hope this article very helpful for you, how you prepare exterior house for painting, being a multi-step process. Using these exact prepping steps, our pro painters in Denver uses on a daily basis, provides a superior quality exterior paint job lasting many years, and now so can you!
If so, please like, share, ping, and/or comment below.







[…] Removing old dried, cracked out caulk is your first step. Following by caulking with a high grade caulking sealant. Caulk all cracks, 90 degrees, where trim board meets another. This keeps out water penetration, as paint just wont bridge these gaps. […]
[…] preparations, exterior paint reacts positively or negatively depending on paint itself, also the surface it is […]