Best Preparations For Exterior Painting
Knowing best preparations making beforehand is most important steps to take when painting a home's exterior. Spending a little extra time preparing now, will not only add to the initial quality now, but save time, money later on.
Making best paint preps now will add to bonding, adhesion, sheen, preservation, also so much more for years to come.
Every step or task requires different tools, experience, and know-how, which are mentioned below. Discussing each critical one in detail, you too will be well versed on the subject.
Steps suggested preparing to paint your exterior is just as important as the next, like building blocks, having a great foundation. Many preparations are very repetitive, taking many hours to accomplish, but well worth the effort for a lasting paint job.
Main key or main focal point is never get in a hurry, just trying to finish. Taking your time, doing your very best will reward you, also paint many years ahead.
Exterior Paint Preparations
Power Washing Your First Preparation
Power washing is similar to an artist wishing a clean canvas to begin painting, or a gardener working all day ready to go to sleep. A clean washed trim and siding is key as well, before any painting processes begin.
Power washing or pressure washing is not intended to remove paint. If paint does come off during power washing that is already lifting up before actually cleaning, all the much better.
Recommended keeping a distance when spraying, not getting too close, but close enough to clean off siding and trim. Similar idea is using the same techniques like you are washing your windows at a local manual car wash.
High pressure water can ruin an outside, especially man-made products such as Masonite™, James Hardie™, or Vinyl. Real wood surfaces, window screens are the most vulnerable to high pressure water.
Cedar also Redwood can literally be decimated beyond repair, looking like it went through a tornado if not careful with the high pressure jets of water.
Another area to keep your distance is concrete, when power washing, which will make permanent marks in the surface.
Before starting anything else, prepare washing exterior surfaces. All dirt, grime, cobwebs and residue should be elevated. Any paint that is not currently coming up should be scraped later, normally 24-48 hours later. A clean washed surface will help paint adhere, lasting longer, and even smell better.
I don't know anyone who smells the exterior trim or siding, but you could be the first. Power washing also prevents painting over bird crap, wasp nests, beer and pizza thrown against your home, along with any bodily fluids during the last wild hot-tub party.
Prepare Scraping Loose Paint Is Your Next Prep
Depending on how weathered your current exterior paint is looking, prepare scraping every bit of loose paint. Ah, I've seen some loo-loos in my time, requiring our painters spending more time scraping, than the rest of the entire exterior painting job combined.
If you are doing this by yourself, and paint is coming off in sheets, you might want to consider hiring a professional paint contractor with a team of pro painters taking on this monumental task. 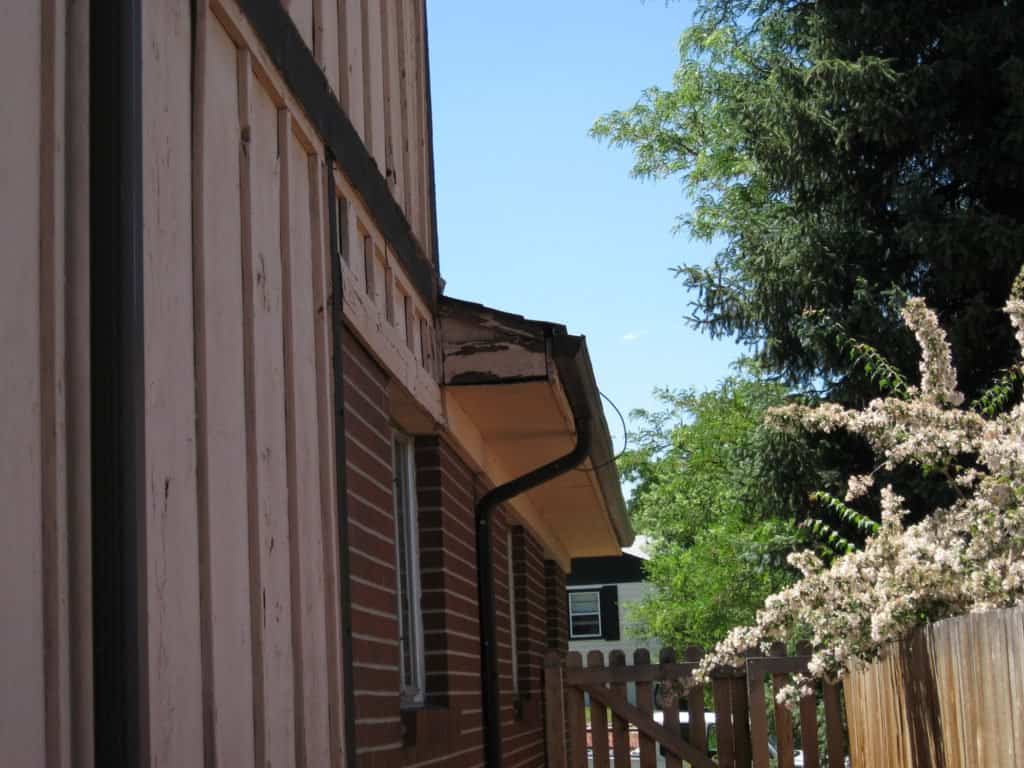
Your best scraping tool is using a 5 way or 7 way. Checking every area for loose paint by tapping, listening for any hollow air pocket sounds. If you hear a hollow sound, you can be best assured there is air in between, and the paint is just asking to be removed.
If paint is not removed, and a new paint coat covers it, you will be finding yourself painting again in a short order of time.
Scraping paint is similar to sifting kitty litter. Similar in that no one really wants to do it, and if you don't get all of it, the rest of it still stinks. Make sure you scrape all loose and hard clumps of aged paint.
Sanding, Filling Mil Thickness Differences Is A Huge Preparation
Want a professional exterior paint job? It will require you to sand paint edges where chips were removed, and old paint is remaining. This thickness is the actual paint mil, normally 10-15 mils or 15/1000th of an inch.
If mil thickness differences are not sanded to a smooth feathered transition, get ready for an inferior paint job.
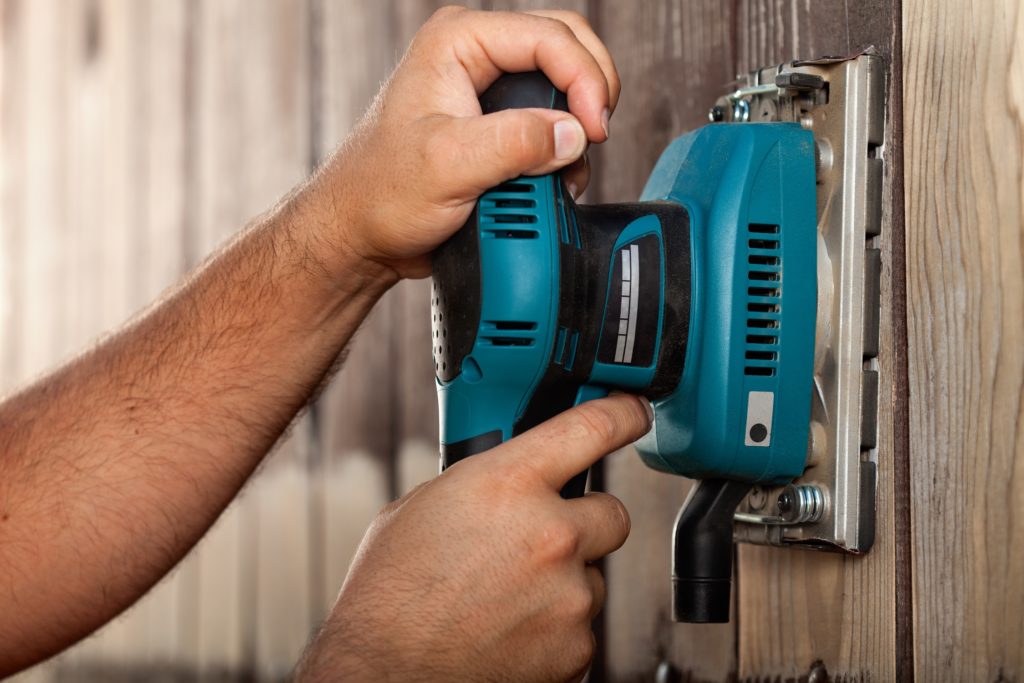
Areas where only a small area of paint has been removed, such as over a knot hole, or blemish, an exterior Spackle can be smoothed over, sanding after it has dried. A great way to prepare the surface to paint later. Crawford's Exterior Spackle is ideal for this application, filling voids, and edges, allowing paint to go on as smooth as the substrate it is covering.
Caulking Most Common Paint Preparation
Most common prep in painting an exterior is caulking. Caulking fills cracks normally where two pieces of wood come together at a 90 degree angle. Caulking seals air & moisture from penetrating underneath the painted surfaces.
All caulking must be done before painting exterior, which is an important step in your preparation.
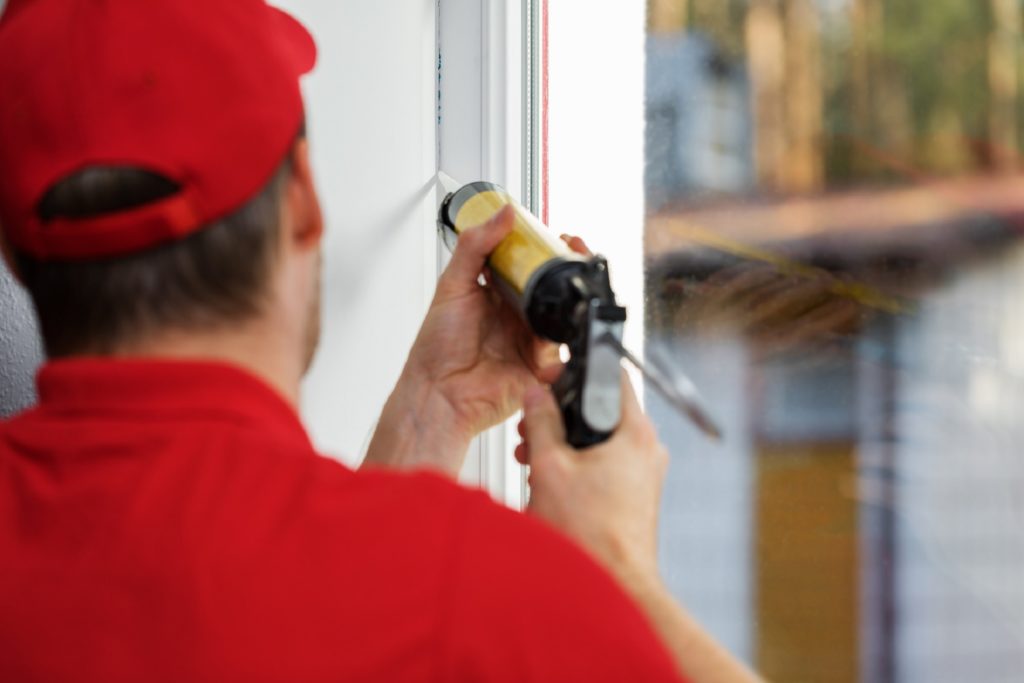
Exterior caulk is widely dispensed with a drip-less caulking gun, in a fine bead or line best for size of crack covering. Good idea to use either your finger, or rag smearing it smooth, letting it properly dry, before moving to next step preparing your exterior.
A typical home will require at least one case (12 tubes) of painters caulk, sealing all areas needed. Make sure the caulk you are using is "Paint-able Painters Caulk", as some caulk is not paint-able, allowing even the best exterior paints not adhering, peeling up only months later.
These non-paint-able caulks are widely used by window installation companies, sealing windows, using cheapest caulks on the market today. A quick Red Flag is clear caulk by window companies, historically not being paint-able.
If one of our clients is having windows installed, we tell homeowner to inform window company not to pick up a caulking gun, or we cannot warranty the paint job.
Sealants being non-paint-able is OK to use on inside flange of window, where it cannot be seen, nor painted. This clear silicone sealant is good for tubs, shower doors, tile, with excessive water, but Not OK on outside of windows.
Prepare Masking & Covering Before Painting!
All areas, not wishing paint on it should be covered with 3M™ Plastic Film, Brown masking paper, visqueen or plastic sheathing. Reusable canvas drop cloths are also good covering in certain applications. If you don't want paint to get on it, you'd better mask or cover it. 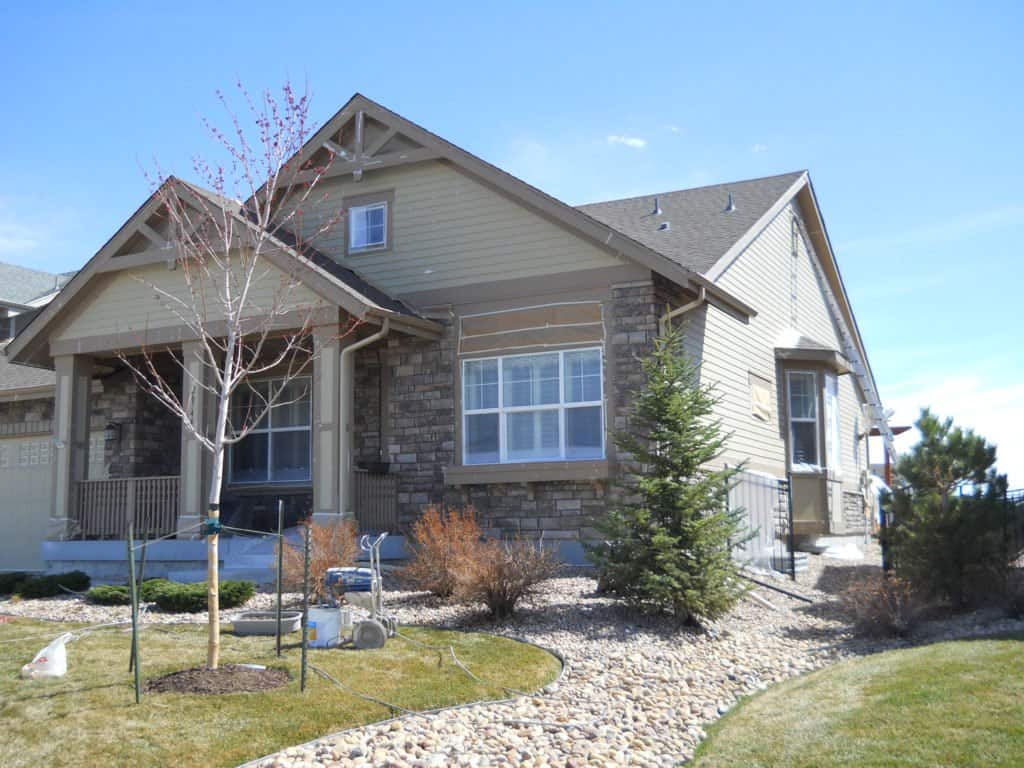
Speaking of masking or covering, many painters use a dust mask over most portions of the face. Keeping foreign matter such as paint dust, air-borne matter from inhaling. Another similar item used onboard commercial jets, also scooping kitty litter.
In older days, some painters would use brown paper around the sides of all windows, folding corners like a Christmas package, with neatly creased edges. If plastic was not used in open centers of window, a gust of wind caught the paint spray a certain way, someone would be cleaning paint over spray off windows! So best cover windows completely using brown paper, plastic, or any combination.
Mask light fixtures, windows, doors, brick, shingles, with all outside items not to receive paint, holding masking material down with painters tape. Masking, covering is an important step before painting any home, exterior or interior.
You had better plan on several hours, if not days to do just masking alone. Again, don't get in a hurry on this task, or you'll be seeing paint where you did not want to see it after masking is removed.
Last but not Least, Prime All Bare Wood
I cannot stress this enough. All bare wood must be primed. Most exteriors which are repainted will have spots or areas of bare wood. These areas must be primed, using a high-grade extreme bonding primer first.
Even very best 100% Acrylic Exterior paints grab, and holds to primers much better than bare wood surfaces, just as bonding primers grab and adhere to bare wood much better, than finish coats covering it.
Therefore, usually not every surface needs primer, only spot priming bottom edges of siding, spots where oils seep out, or areas where paint was scraped away. Any wood starting to show deterioration is a good candidate for primers also. This helps seal surfaces, thereby allowing a fresh coat of paint to be applied at least 24hrs later.
Recapping Painting Preps Before Painting Exterior
- Prepare power washing exterior
- Prep all areas, masking not to receive paint
- Scrape, sift out all clumps & loose paint
- Sand mil thickness differences
- Fill gaps with caulk, exterior Spackle
- Prime all bare wood
- Spackle, sand areas
If you don't have a power washer, or you're not ready for many hours on this, you can always hire a reputable painting contractor in your local area.
A paint contractor can take care of this monumental task, allowing you to enjoy other life's pleasures.
Following these preparations outlined, painting exterior of a home will ensure lasting beauty, and paint protection.
Good luck with your next exterior painting job! We welcome homeowners, as well as painters with any comments you may have.
If you are interested in house painters Aurora or Denver painting contractors, be sure to visit Eco Paint, Inc. Having over 40 years experience painting homes, with your home our #1 priority, a member of the Denver Boulder BBB with an A+ rating.



[…] I do not know many reasons why any person would want to spend that long, knowing all the necessary paint preparations are needed, no matter how it's actually […]
[…] seal. Re-nailing any loose nails that may have popped out over time. Followed by all the rest of exterior preparations, completing with an expert exterior painting or staining job. At Eco Paint, we provide the majority […]
[…] What remains for you after you have decided on the type is to make up your mind on the color, is paint preparations. Knowing there are many steps involved, good to get first hand accounts, before actually picking up […]
[…] What remains for you after you have decided on the type is to make up your mind on the color, is paint preparations. Knowing there are many steps involved, good to get first hand accounts, before actually picking up […]
[…] what best steps to take is one thing, actually doing them is another. A basic understanding of best practices, techniques, and preparations needed painting your next exterior is all inclusive, always learning, as each job has it's similarities, as well as differences. Being […]
[…] what type of wood you are working with. If pine is wood having paint flaking paint off, this aged paint, currently peeling up, must completely be removed. Some paint properly bonded, no requirement of […]
[…] expert on this subject, having painted 10's of 1000's of homes over the years. Have procured same preparations painting exterior of homes in Denver, CO. following all steps listed […]