How Do You Prepare Baseboards For Painting?
Learning how do you prepare baseboards for painting, inside your home, will help make this go smoothly as possible. Listing every step prior to painting for baseboards, woodwork & trim you'll be proud calling your own.
Paint preparations for baseboards differ than walls or ceilings, in that different items needed. Giving you a list you'll need, getting you well on your way prepping baseboard trim, door casings, crown, or other woodwork like a pro.
Equip your toolbox, gathering up everything you'll need before painting baseboards for an enjoyable, smooth experience. Because who else wants to get started doing anything, without doing things first, beforehand?
What Do I Need To Do, Preparing To Paint My Baseboards?
Wondering what you need to do, preparing to paint baseboards? Besides a good bottle of California wine, and a close friend to listen to you, you'll need a list of tools, getting baseboards ready for a good quality paint coating.
I remember getting all started doing something, only to think in the middle of something I needed something else. Halting progress, taking time out, fetching another item back in my toolbox, or worst scenario, going to a local hardware store. Base prep is no different, doing first things first.
- HEPA vacuum
- Bucket of warm soapy water
- De-greaser
- Rubber gloves, PPE
- Wiping rags
- Sandpaper, sanding blocks
- Caulking, fillers, spackle, wood putty
- Razor & putty knives
- Masking tape
- Primer
Many of these items you might find in your utility closet, or out in the garage. Rounding these items up, you'll be way ahead of the game, prepping your baseboards.
Thank goodness you do not need to remove baseboards before painting. Unless of course you are installing new baseboards, building a new home, or replacing base, having a brand new look.
Try locating your vacuum, the sharpest razor blades, the most ecological cleaning products, reusable gloves, sponges, rags, buckets, and wiping rags. This will allow you to reuse, giving your contribution to being Green Friendly.
Get The Vacuum Out First Preparing Baseboards
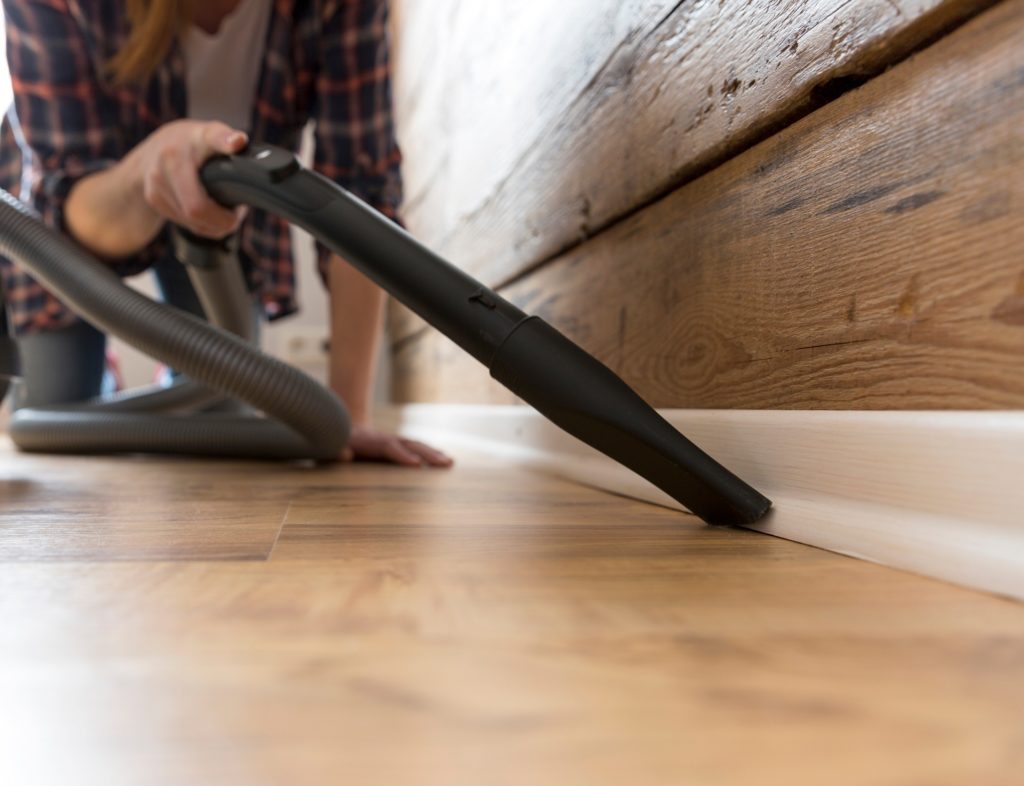
I'm sure you keep a very clean home, but baseboards are notorious collecting dust on top edge. Using your pull behind or upright vacuum with brush hose attachment, vacuuming all areas surrounding baseboard trim is first order of business.
Preparing to paint baseboards?
Vacuuming initial amount of dust works best, before putting any wet rags on them, making the next step go much cleaner.
2 1/2 Gallon Bucket Of Warm Water & Sponge
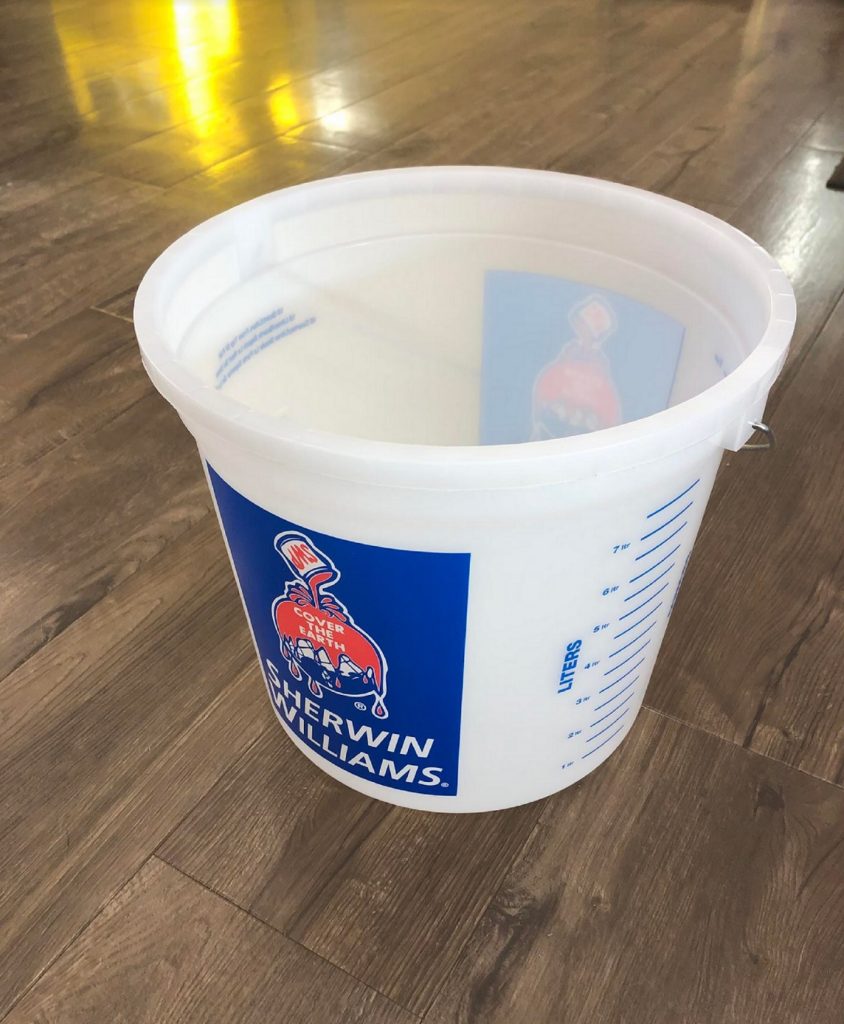
2 1/2 gallon paint bucket works ideal, with edge high enough, but too high as a 5 gallon bucket would be, reaching in and out multiple times.
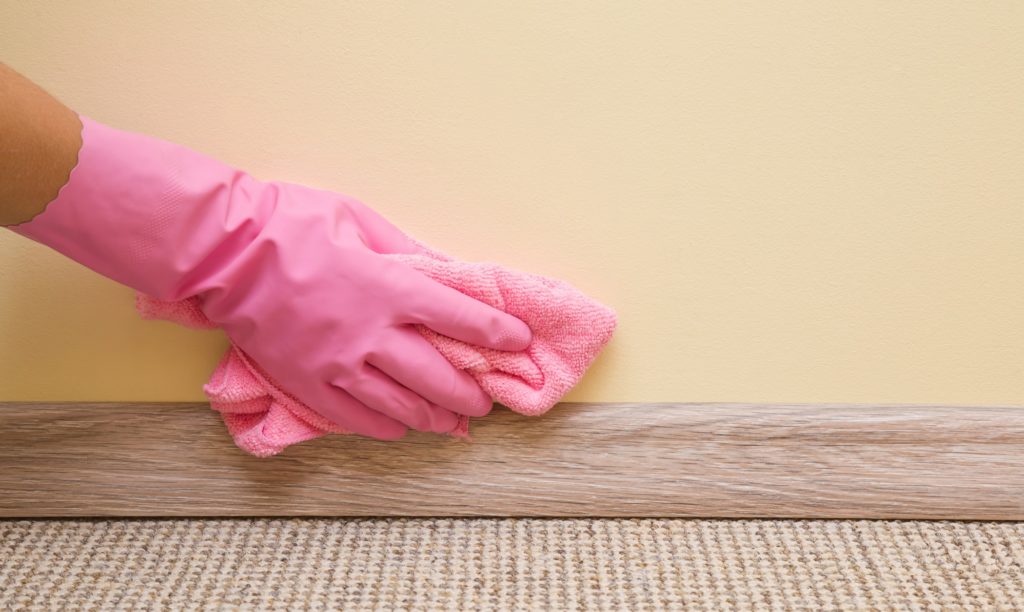
Filling a few inches or a half gallon of warm soapy water. Dipping a new sponge or cotton wiping rags, squeezing out excess water, wiping baseboards, cleaning near base to walls. Pay close attention, cleaning caulking joints, getting those clean as well.
These 2 1/2 gallon buckets can be found at you local paint stores. You'll be putting this bucket to some very good use, for multiple phases, painting baseboards.
Dawn® Dish Soap, Or De-grease Cleaner
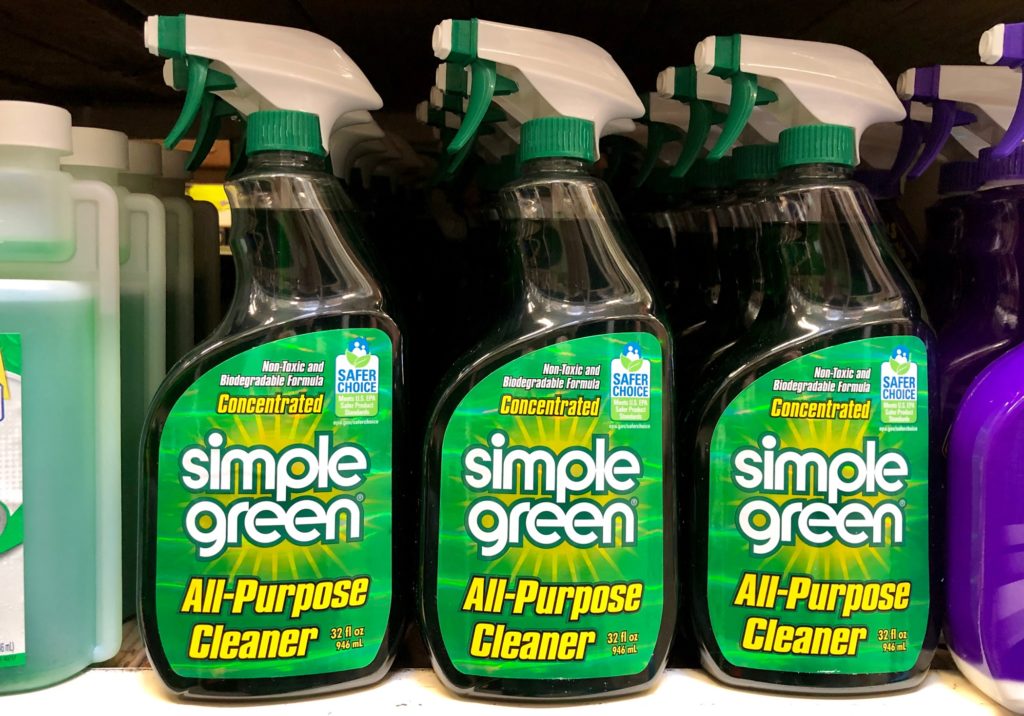
Your typical household cleaner Dawn® Dish Soap, or Simple Green® de-grease cleaner works well, especially in bathrooms, and kitchen areas.
Putting a few cupfuls in bucket is all that's needed. This cleaner will clean any remaining dirt, grim, splatters, that might remain, after vacuuming.
Have cleaners already under your sink?

Allowing base to properly dry, before painting. Typically a few hours is enough waiting, until you can start painting.
Wiping Base With Cotton Wiping Rags
Having cotton wiping rags on hand for any interior paint job is a must. Not only helping clean, wiping baseboards, but having a clean dry rag on your person while painting works best. Most professional painters carry out of back pockets, painting interiors.
We have purchased a number of wiping rags from various paint stores, outlets, and box stores. Finding the largest cotton rags, with Sherwin-Williams™.
These cotton rags come in handy around the house on a weekly basis. Keeping many on hand.
Matter of fact, we refuse to buy rags at Lowe's™, or Home Depot™, as most experiences finding many tiny pieces of cloth rags smaller than a Kleenex™ once opening. Never have that issue with the Brick® of rags with Sherwin-Williams™.
Stores Providing Baseboard Preparation Supplies
Rubber Gloves, Safety Glasses, & Personal Protection Equipment (PPE)
Having safety equipment available, at your fingertips, prior to starting baseboard painting. Don't know too many needing a hardhat, kneeling down painting woodwork, unless working around lots of obstructions above.
But wearing a good comfortable pair of safety glasses we use all the time. Protecting the eyes so important, knowing you've only got two of them. If needing protective equipment, & eye-wear, Dewalt™, Makita™, Milwaukee™, RYOBI™, make ideal pairs of safety glasses.
Get your PPE at local paint stores, box stores, even Walmart™.
If painting commercial setting, you'll need a safety vest, hardhat, work gloves, steel-toe footwear, & safety glasses. Using any combination in your home painting trim, you cannot go wrong. Thinking you can never be too safe.
Use Sanding Blocks, Sandpaper To Prepare
Do I Need To Sand Baseboards Before Painting
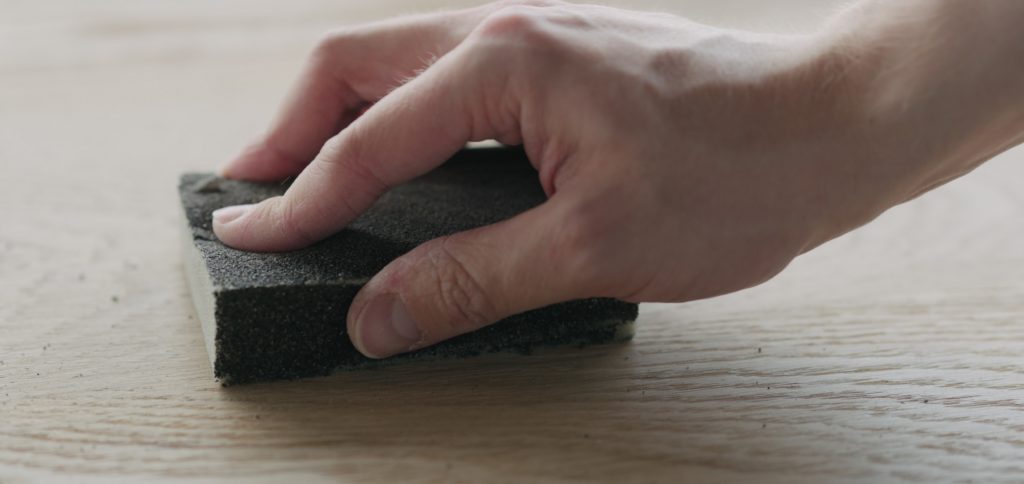
You must use sanding blocks, or abrasive sandpaper before, if you are painting new wood base, or after priming wood trim. Why you need to do this is everyone wishes a smooth appearance, look & feel.
Don't know how many times those unaware, can find themselves with a rough sections of baseboards, not sanding first.
Ideally, sanding brand new wood baseboards, taking off sharp edges works best. This also allows a quick-dry primer to properly bond also.
Sanding blocks very inexpensive, good to have a few extras in your tool box.
After base is primed, sanding again, using sanding blocks, or sheets of sandpaper. We use a medium to fine sanding block, or 80 to 100 grit sandpaper. Once you spray, brush, or roll final coats of paint, will look luxurious.
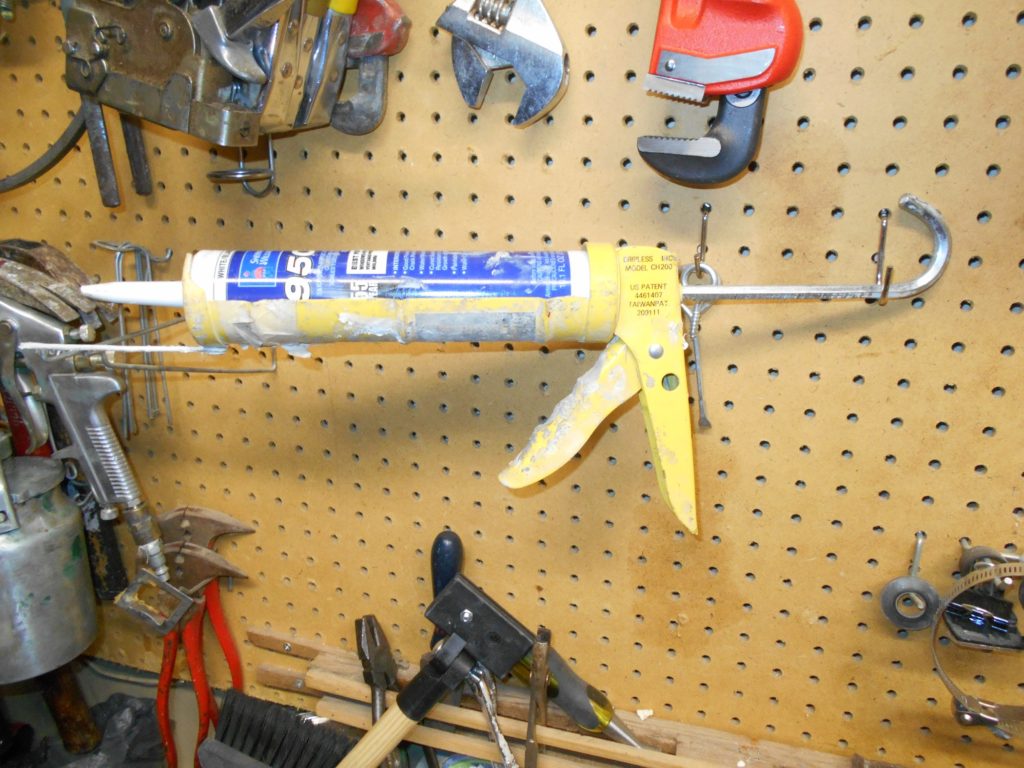
Painters Caulk, & Caulking Gun
Several brands of painters caulk currently on the market. They vary in warranty from 20 to 55 years. Ideally you want to use White painters caulk for baseboards and trim within a home. A good paintable caulk we use is Sherwin-Williams™ 950® and/or 1050®.
Careful when picking out caulk, not getting clear silicone, non-paintable type, package looking very similar. This non-paintable caulk will not allow proper paint adhesion. Coming off with least amount of resistance.
A good quality inexpensive dripless caulking gun will come in handy for many other caulking issues painting around the home.
Now for the caulking gun. A metal tray, holding caulk tubes, dispensing caulk with a pull of the hand-size lever. Clipping end of caulk tube with a razor knife, laying in the trough, pulling trigger until it starts coming out.
Dripless Caulking Gun
You can find a Dripless caulking gun for under $10.00 in most paint sections of stores. Some even have a 4" 'nail' that swings out, making it convenient to poke a tube of caulk, once end is cut off.
When you start dispensing caulk, letting off trigger, caulk will stop, making it dripless. This is by far important, especially the more caulk you'll be applying.
Making even, long continuous bead of caulk at top of baseboard, next to wall, keeping constant pressure on caulking gun lever. Pressing bead of fresh caulk in crack with finger or wet rag. This will ensure a smooth, even seal, filling crack.
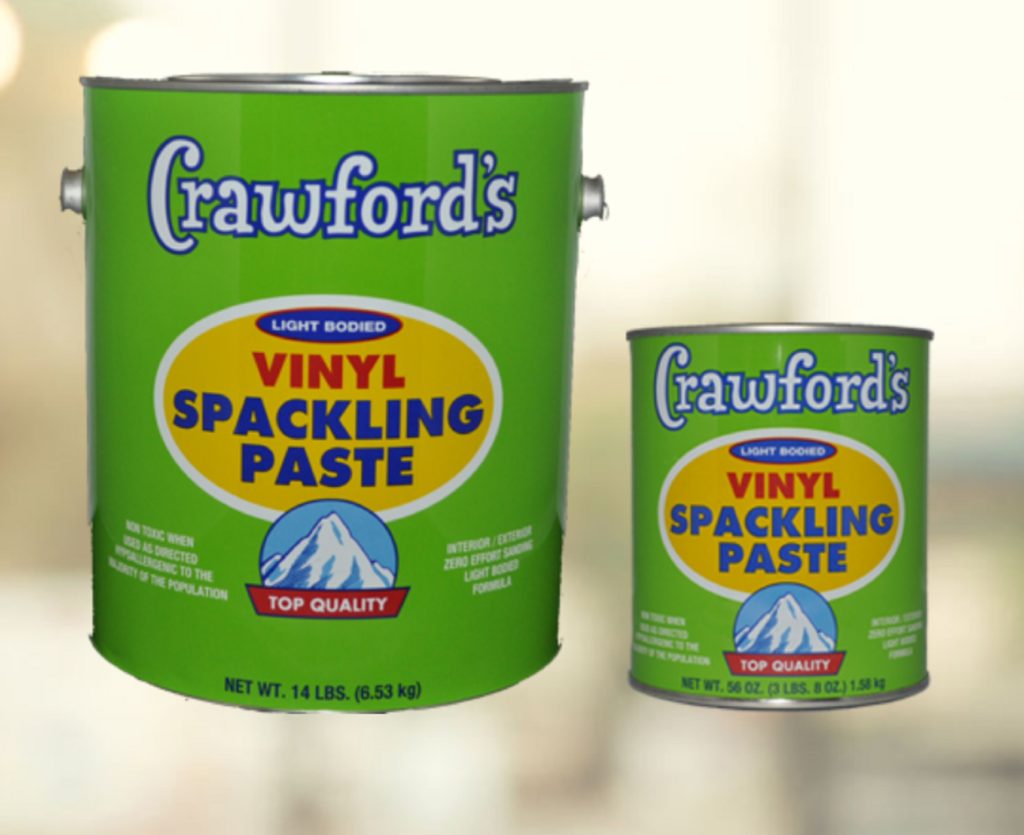
Filler, Spackle, Wood Putty
Best fillers we use is Crawford's™ Exterior Spackle covering a void, drying to a hard, flat finish. Able to sand smooth, ready for primer & paint. Any gouges, divots, or holes, we fill with Crawford's™.
Wood putty typically used on smaller holes, such as nails, filling, wiping smooth, sanding baseboards before painting. Does not dry near as quickly as Crawford's™, allowing you to hold a wad, making a point in your hand, plugging many nail holes in a matter of minutes.
Make sure you press putty in firmly, wiping smooth at same time. Then only needing to lightly sand later, before painting.
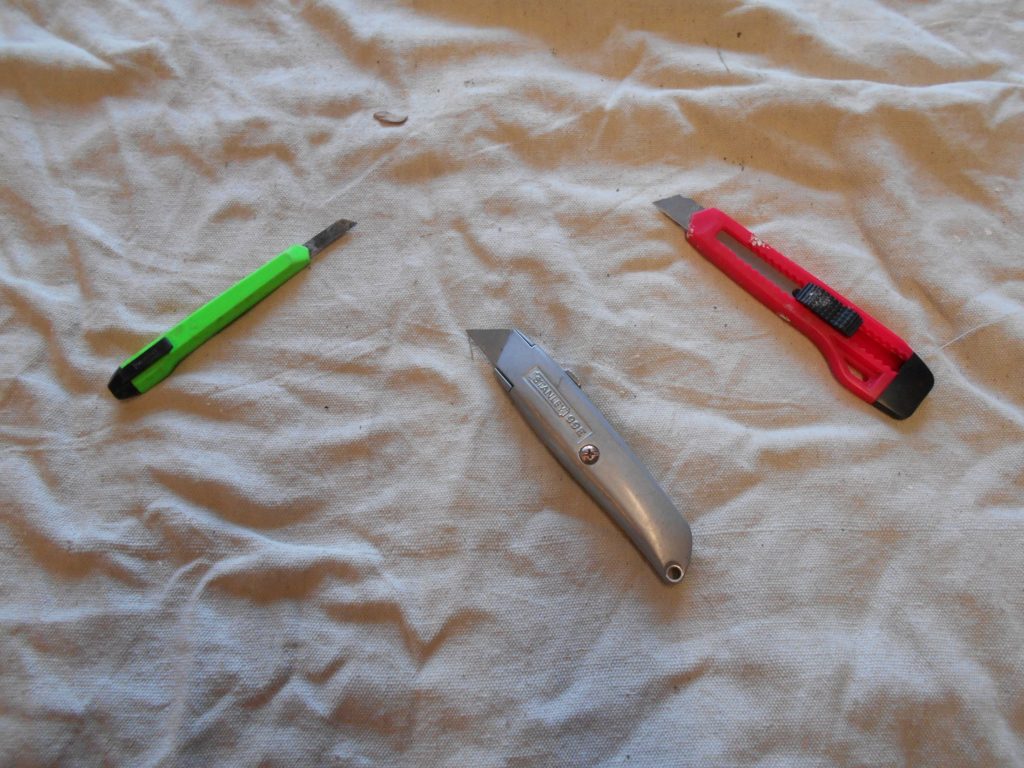
Razor Knives, Extra Blades, Putty Knives
Cannot tell you how important having a sharp razor knife in your tool or breast pocket. Cutting plastic sheathing, masking materials, old paint, or a million other uses when painting interiors. Some are plastic disposable razor knives, but able to replace blades, buying extra blades.
I probably have several hundred, some dating back 50 years, but work just as good as brand new ones with a new sharp blade.
Putty knives, flat blades helps smooth, scrape, or pry paint. Even using flat side of painter's tool called a 5 way to open paint gallon lids, or 5 gallon plastic covers. One of the handiest tools every pro painter uses is a 5 way.
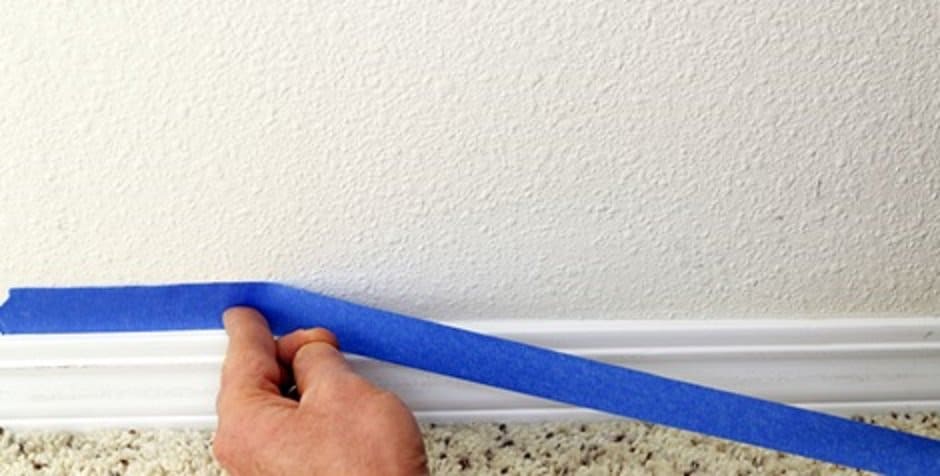
Masking Tape
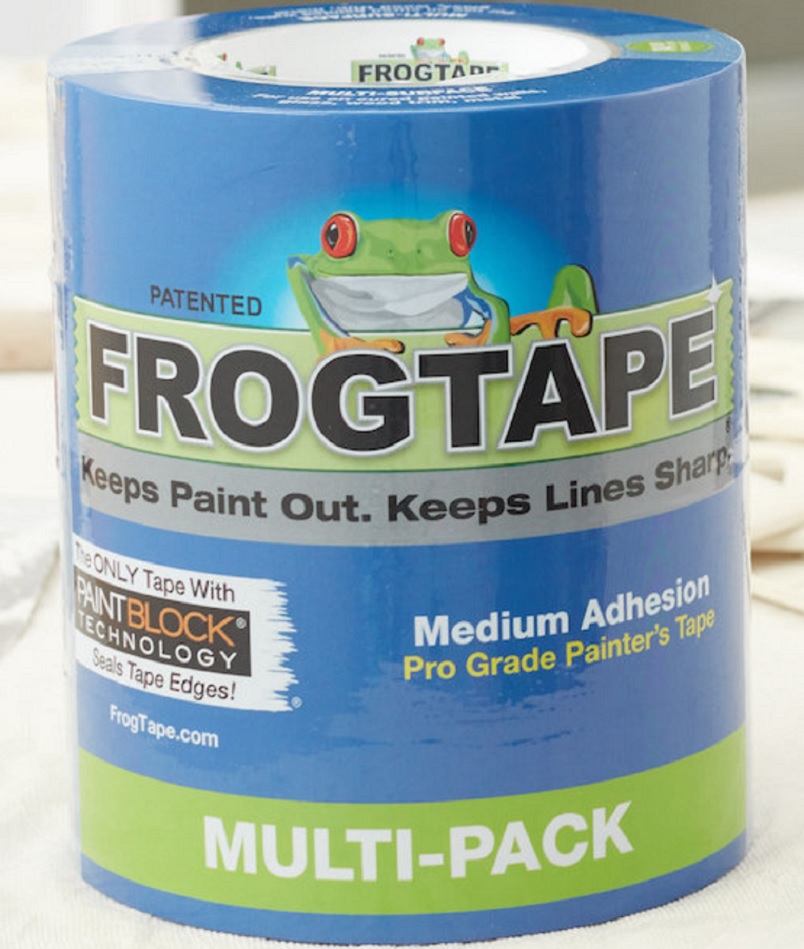
Prepping baseboards for painting, you'll want several rolls of regular masking tape either in 1'' or 1 1/2'' wide. Colored tapes like Blue, or Frog Tape® for special lower adhesion properties. These lower gripping types used on more delicate surfaces, like wallpaper, or stained wood floors.
If floors are carpet, using masking tape in arms length strips, press edge of masking tape between carpet and baseboards. Leaving no carpet fibers exposed where paint will be applied. If more delicate carpet, and/or wood floors, best using Blue tape. This way still protecting flooring, but will not damage finishes. In this scenario, we are painting trim first, then walls.
Always a good idea, letting paint dry, before removing tape on floors. If your in a hurry, removing tape can be done, but pros let it dry, removing all masking during cleanup process, with less mess.
Quick Dry Primer
Quick dry primers seals bare wood, especially used on brand new wood baseboard trim. This is the same for wood doors, handrails, and other trim as well. Giving a good even coat, sanding in between, will allow a very nice finish coat of semi-gloss paint covering.
Remember prepare all bare wood with primer. Not only that, but any spills, stains, or oils on baseboards need a coat of primer beforehand. Sealing out, keeping from anything migrating up, seeing on final paint covering.
If not needing a lot of primer, having an aerosol can of KILZ™, is very handy. This will keep crayon, ink, or any other contaminates showing through. This also dries very quickly, allowing you to topcoat soon afterwards.
In Closing
Eliminating as much dust, debris you can before opening up a paint-can is your best preps you can give them.
I know most preparations involve cleaning prior to paint baseboards, woodwork, & trim beforehand. Making sure nothing will interfere with new paint coating is your first priority. Sanding, then priming any thing that does not make your surface smooth beforehand is key.
Now you know how you prepare baseboards for painting, putting final touches on interior painting. Now your ready painting baseboards like a pro!
Wrapping up this list of baseboard paint preparations is what's needed to complete, having a smooth, lustrous coating every time.
Hope you've enjoyed learning what preparations required in order painting baseboards.
Like to hear from you either likes, comments, shares, and/or pings below!





[…] you decide to use, all trim should be the same color. This includes pantry, laundry, mudroom doors, baseboards, casings, crown, shelving, wainscoting, and fireplace mantels, all with the same paint finish also […]
Great tips! This will be my first time painting baseboards. I hate to be a stickler but there are a lot of grammatical errors in this article. FYI.
[…] paints work the best on all trim, baseboards, moldings, and doors within your bedroom for any modern up-to-date home. Be wary not putting semi-gloss on […]
[…] paint brands after priming your trim and baseboards is critical today. Yes, just as important is it is priming new trim, just as is equally important getting that best […]
[…] edges were not sanded first before painting, also used an incorrect paint sheen. Door edges, also baseboards should be lightly sanded, even using gloss or semi-gloss paint, with a smoothest finish […]